Introduction
Davinci AI’s AI Images features unlocks advanced image generation capabilities for your platform. With access to cutting edge solutions for 5 different AI Vendors, you can create varous types of AI images.List of AI Images vendors
Supported AI vendors and models
- Google - Nano Banana Pro
- Google - Nano Banana
- OpenAI - Dalle 3 HD
- OpenAI - Dalle 3
- OpenAI - Dalle 2
- Stability - Stable Diffusion Ultra
- Stability - Stable Diffusion Core
- Stability - Stable Diffusion 3.5 Large
- Stability - Stable Diffusion 3.5 Large Turbo
- Stability - Stable Diffusion 3.5 Medium
- Stability - SDXL 1.0
- Stability - Stable Diffusion v1.6
- Midjourney - Fast
- Midjourney - Relax
- Midjourney - Turbo
- Fal AI - FLUX.1 [pro]
- Fal AI - FLUX.1 [schnell]
- Fal AI - FLUX.1 [dev]
- Clipdrop
Supported Cloud Storages
- Local Server Storage
- Amazon S3
- Google Cloud Storage
- Wasabi Cloud
- Storj
- Cloudflare R2
- Dropbox
Setup AI Images
To be able to use AI Images feature, follow these steps to setup integration.Step 1: Configure AI Image Vendors
Star with configuration of preferred cloud vendors. AI Images supports OpenAI, Stable Diffusion, Midjourney (Paid), Fal AI, Clipdrop vendors.
You can configure and enable any comination of these vendors.
You can configure and enable any comination of these vendors.
You can activate only 1 vendor or all of them at the same time as needed
Configure preferred AI Images Vendors
Use each link to get a detailed step by step guide for setting AI Image vendors including the ones that come as extensions.OpenAI
Setup OpenAI models
Stability AI
Setup Stability AI models
Midjourney
Setup Midjourney models
(Extension)Fal AI
Setup FLUX models
(Extension)Clipdrop
Setup Clipdrop model
(Extension)Step 2
After you configured vendors and included their APIs go to the Admin Panel -> AI Settings -> General AI Settings and scroll down to AI Image Settings section.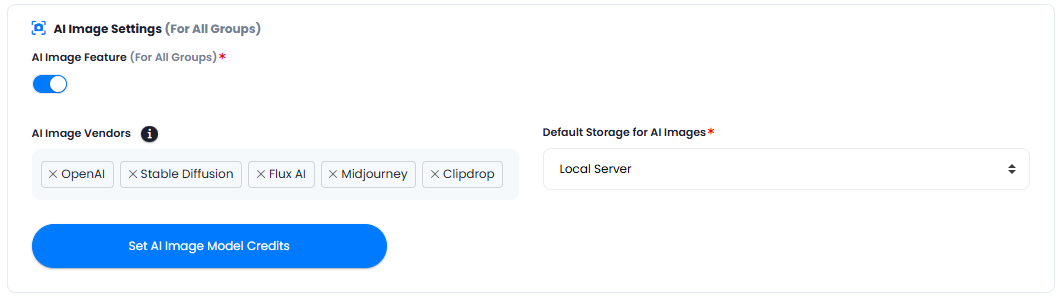
- Turn on AI Image Feature checkbox.
- Under AI Image Vendors dropdown, inlcude list of AI vendors that you want your users to have access to. You can also control it via Subscription Plan in case if you have Extended License.
Only models of the enabled vendors will be visible for your end users
Step 3
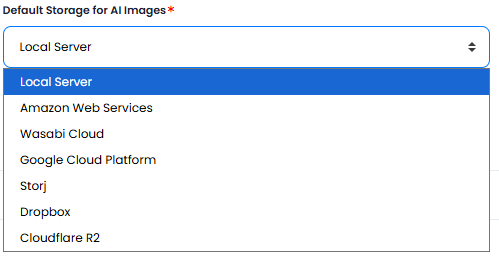
You can also select the default storage where the generated results will be stored under Default Storage for AI Images.
Step 4
You can also set image task credits for each model under Set AI Image Model Credits button.
It contains only models that come natively with the script, the ones that come as extensions needs to be configured on those extension setup pages respectively.
Step 5
If you want your free tier users to also have access to models, go to Admin Panel -> AI Settings -> Free Trial Features tab and turn on AI Image Feature Access (for Non-Subscrbers) checkbox.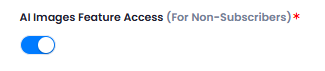
For Subscribers, you can list completely different models and limit free tier users with only few AI vendor access.
How to Use AI Images
After you have configured your respective AI vendors and setup rest of the settings as explained, go to User Panel -> AI Images tab.- On the right side menu panel, you can see your control panel.
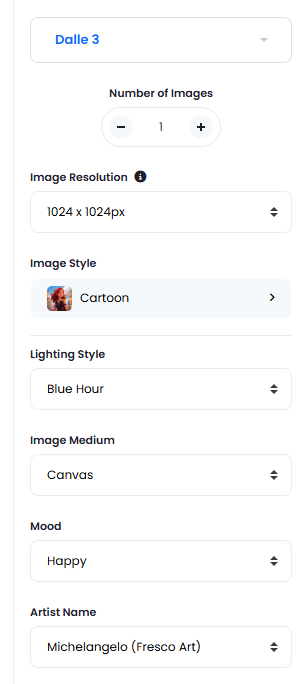
- You can set following settings on the control panel:
- Change your image model
- Set number of images to generated
- Set image resolution
- Set image style
- Set image lighthing style
- Set image medium
- Set image mood
- Select image artist name
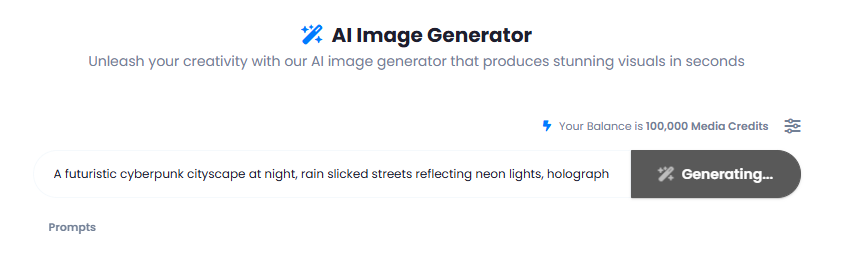
- Next, enter your image prompt that you want to generate and click on the Generate button.
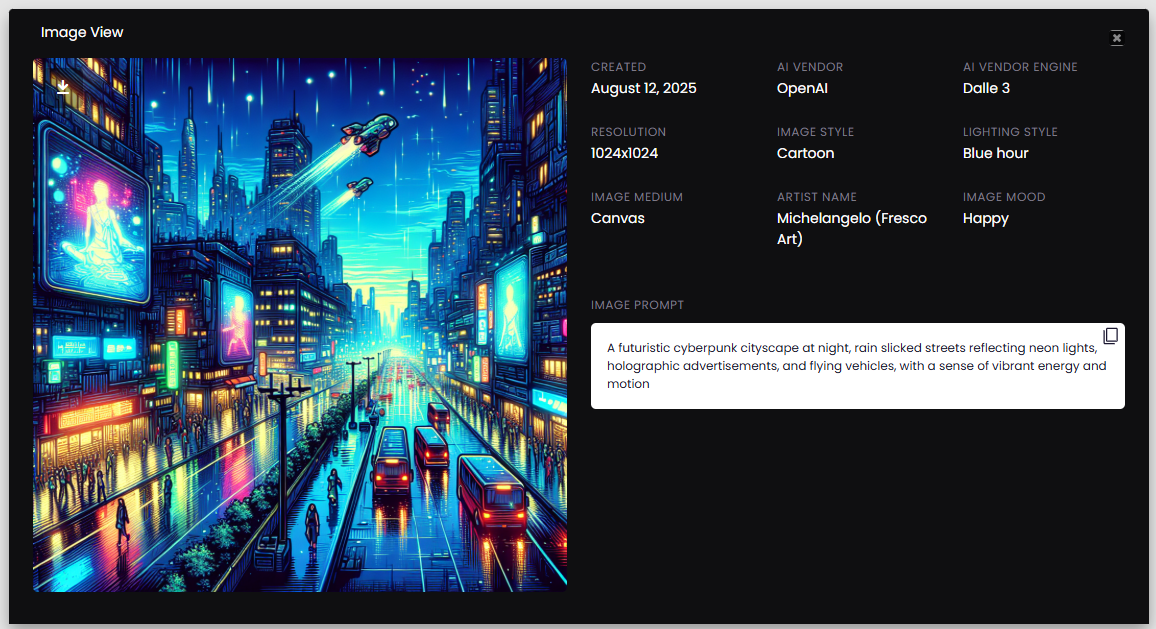
- And you can see your image generated, if you click on View button, you can see all the details and settings related to that image.
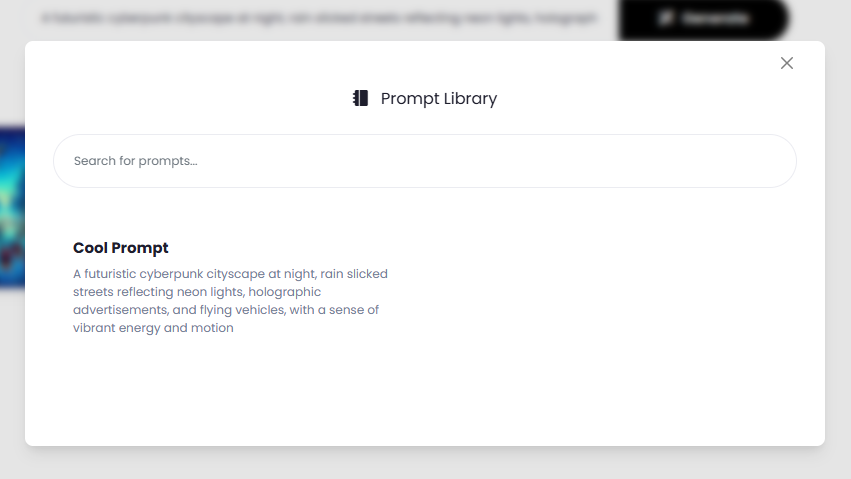
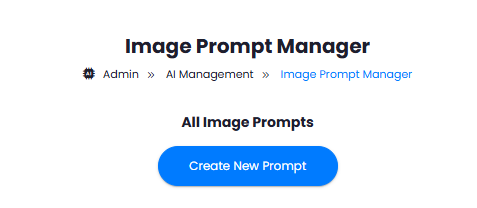
How to Create Image Prompts
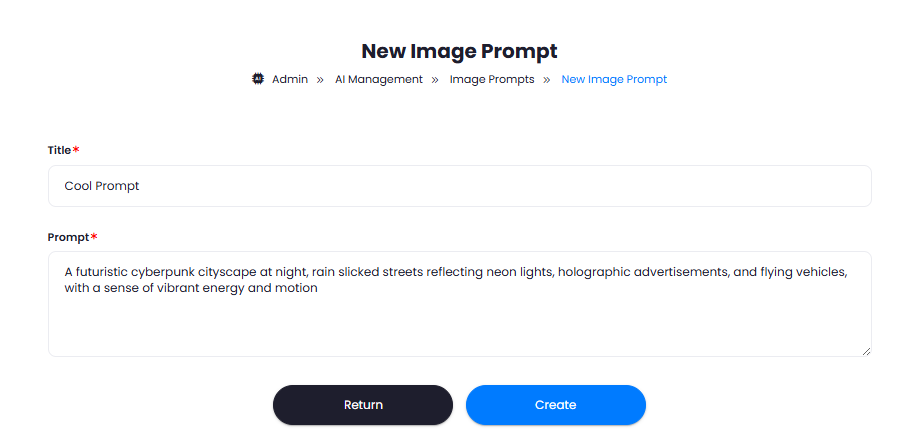
You can also create default prompts that everyone would be able to use. To create one, follow the intructions below.- Go to the Admin Panel -> AI Management -> AI Image Prompts tab, and click on Create New Prompt button.
- Provide prompt Title and the Prompt itself and click on Create button.
- That is it, now your prompt is available under AI Images page. Simply click on the Prompts link there, and it will show you the list of created prompts.