Introduction
AI Photo Studio, powered by Stable Diffusion, is a cutting-edge software designed to transform your photography experience. Leveraging state-of-the-art AI technology, our platform seamlessly enhances and edits your photos with professional precision. Whether you’re a seasoned photographer or a casual user, AI Photo Studio provides intuitive tools for Reimagining, Inpainting, Outpainting, Searching and Replacing, and more, all powered by the robust capabilities of stable diffusion algorithms. With AI Photo Studio, you can effortlessly turn ordinary photos into stunning visual masterpieces, exploring creativity with a user-friendly interface that adapts to your unique style and artistic vision. Experience the future of photo editing with intelligent features that deliver unparalleled quality and creativity.Included Features
- ReImagine
- Same Style Image
- Erase Objects
- Inpaint Image
- Outpaint Image
- Search and Replace
- Remove Background
- Sketch to Image
- Structure to Image
- Conservative Upscale
- Creative Upscale
- Convert to 3D
- Text to Image
- More will be added soon…
Extension Configuration
Step 1
Go to the Marketplace in Admin Panel and install AI Photo Studio extension after successfully purchasing it first.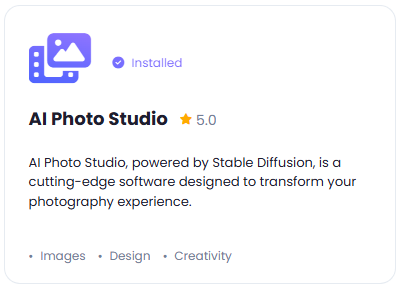
Step 2
After installation is completed, go to AI Settings page in Admin Panel and click on Extensions tab there. Click on AI Photo Studio there.
Step 3
Go to stability.ai website, sign up with them and get your API Key on your profile page after you successfully complete the registration process on their website.
Store your Stable Diffusion API key securely and never share it publicly.
Step 4
To control the settings of AI Photo Studio exension, return to AI Settings page in Admin Panel and click on the Extensions tab, and select AI Photo Studio extension.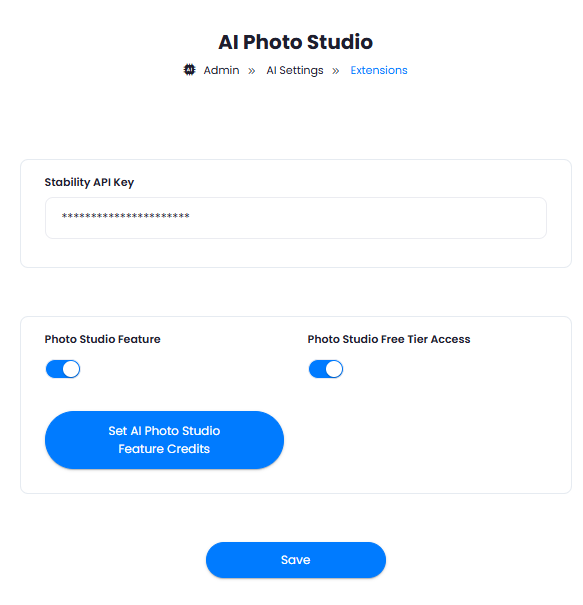
- Enter your Stability API Key.
- Turn on the checkboxes for Photo Studio Feature and Photo Studio Free Tier Access
If you don’t turn on Photo Studio Free Tier Access, then users who did not subscribe to any subscription plan where you have Photo Studio feature enabled, will not have any access to this feature
- After you are done with configuration, click on the Save button.
Step 5
With the Set AI Photo Studio Feature Credits button, you can set how much media credits each photo studio task will require. Davinci AI gives you full control on how you want to charge your users based on media tasks.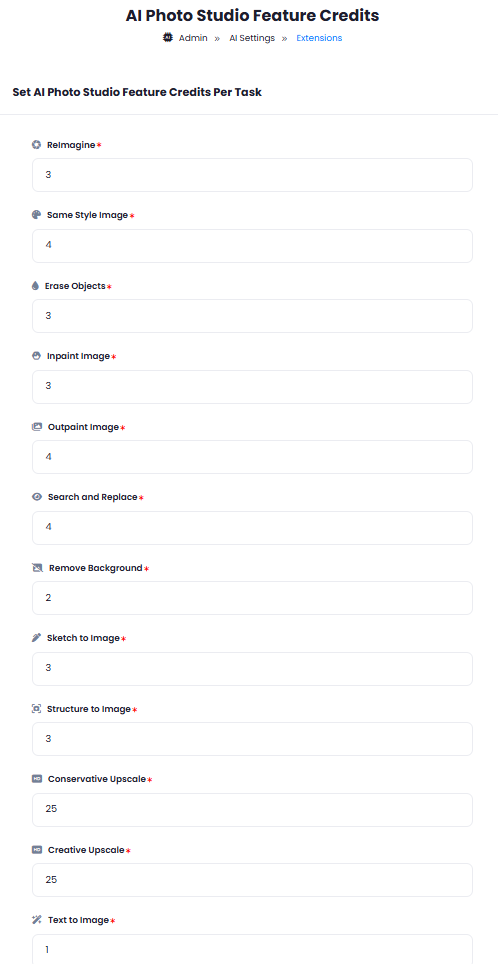
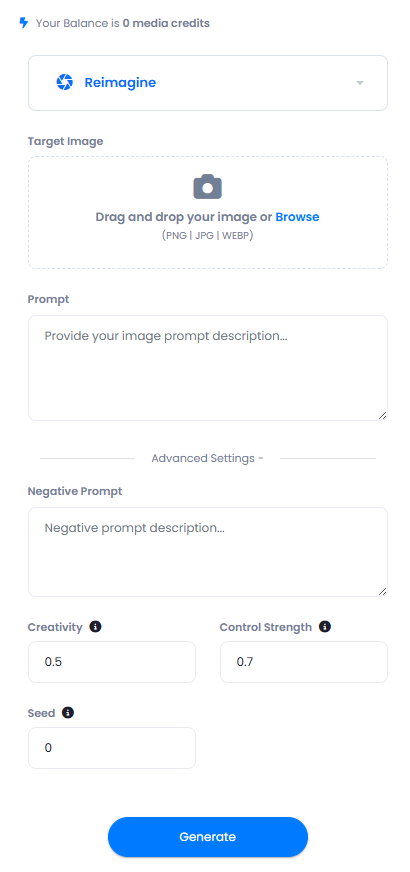
How to Use
Using AI Photo Studio extension is very easy and straightforward.- Go to AI Photo Studio in User panel.
- Select your preferred task from the dropdown list.
- Upload Target Image, must be in PNG | JPEG | WEBP formats. It is the image you want to add effects based on the task selected and provided prompt.
- Enter you prompt, this will be your instructions on what to do with the target image uploaded earlier.
- Click Generate button and that is it.
- You can also set following features in the Advanced Settings section:
- Negative Prompt - what not to show or touch in the image
- Creativity
- Control Strength
- Seed
Explanation of Photo Studio tasks
ReImagine
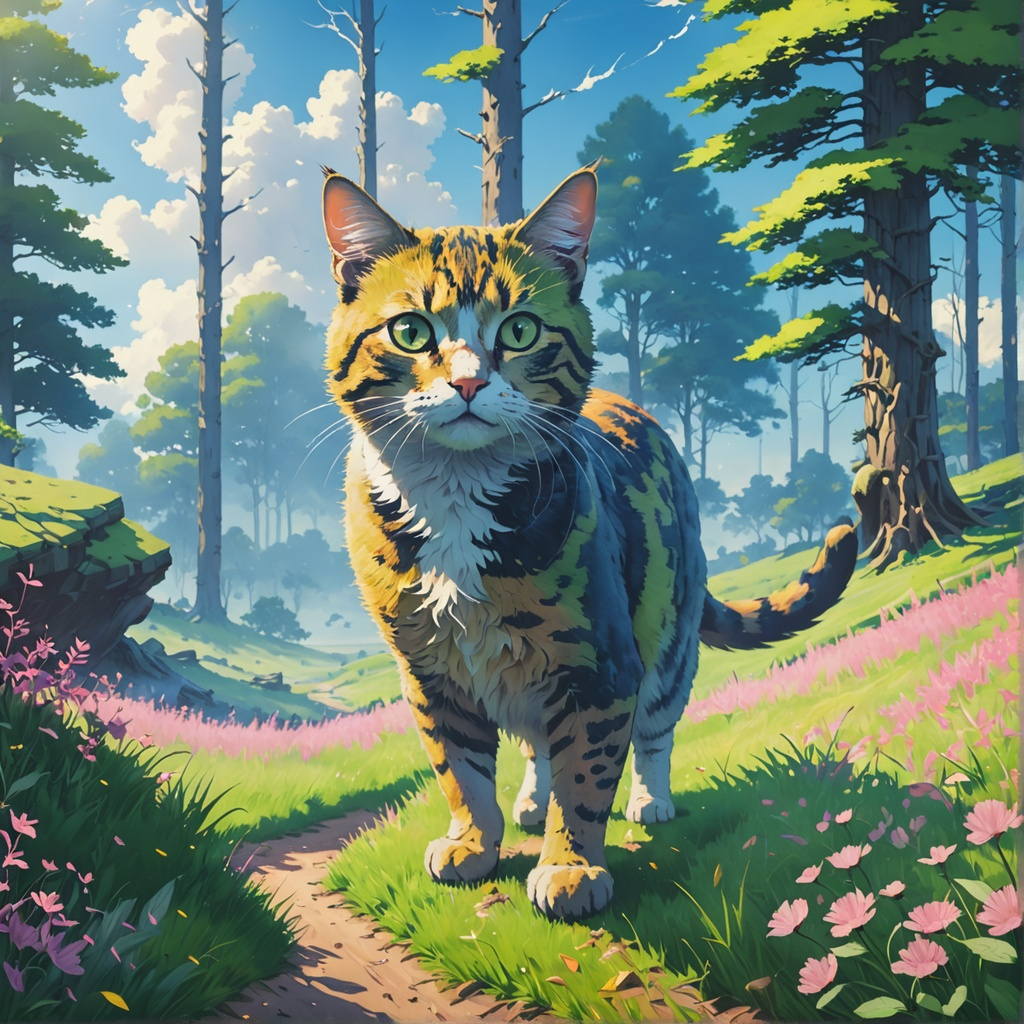
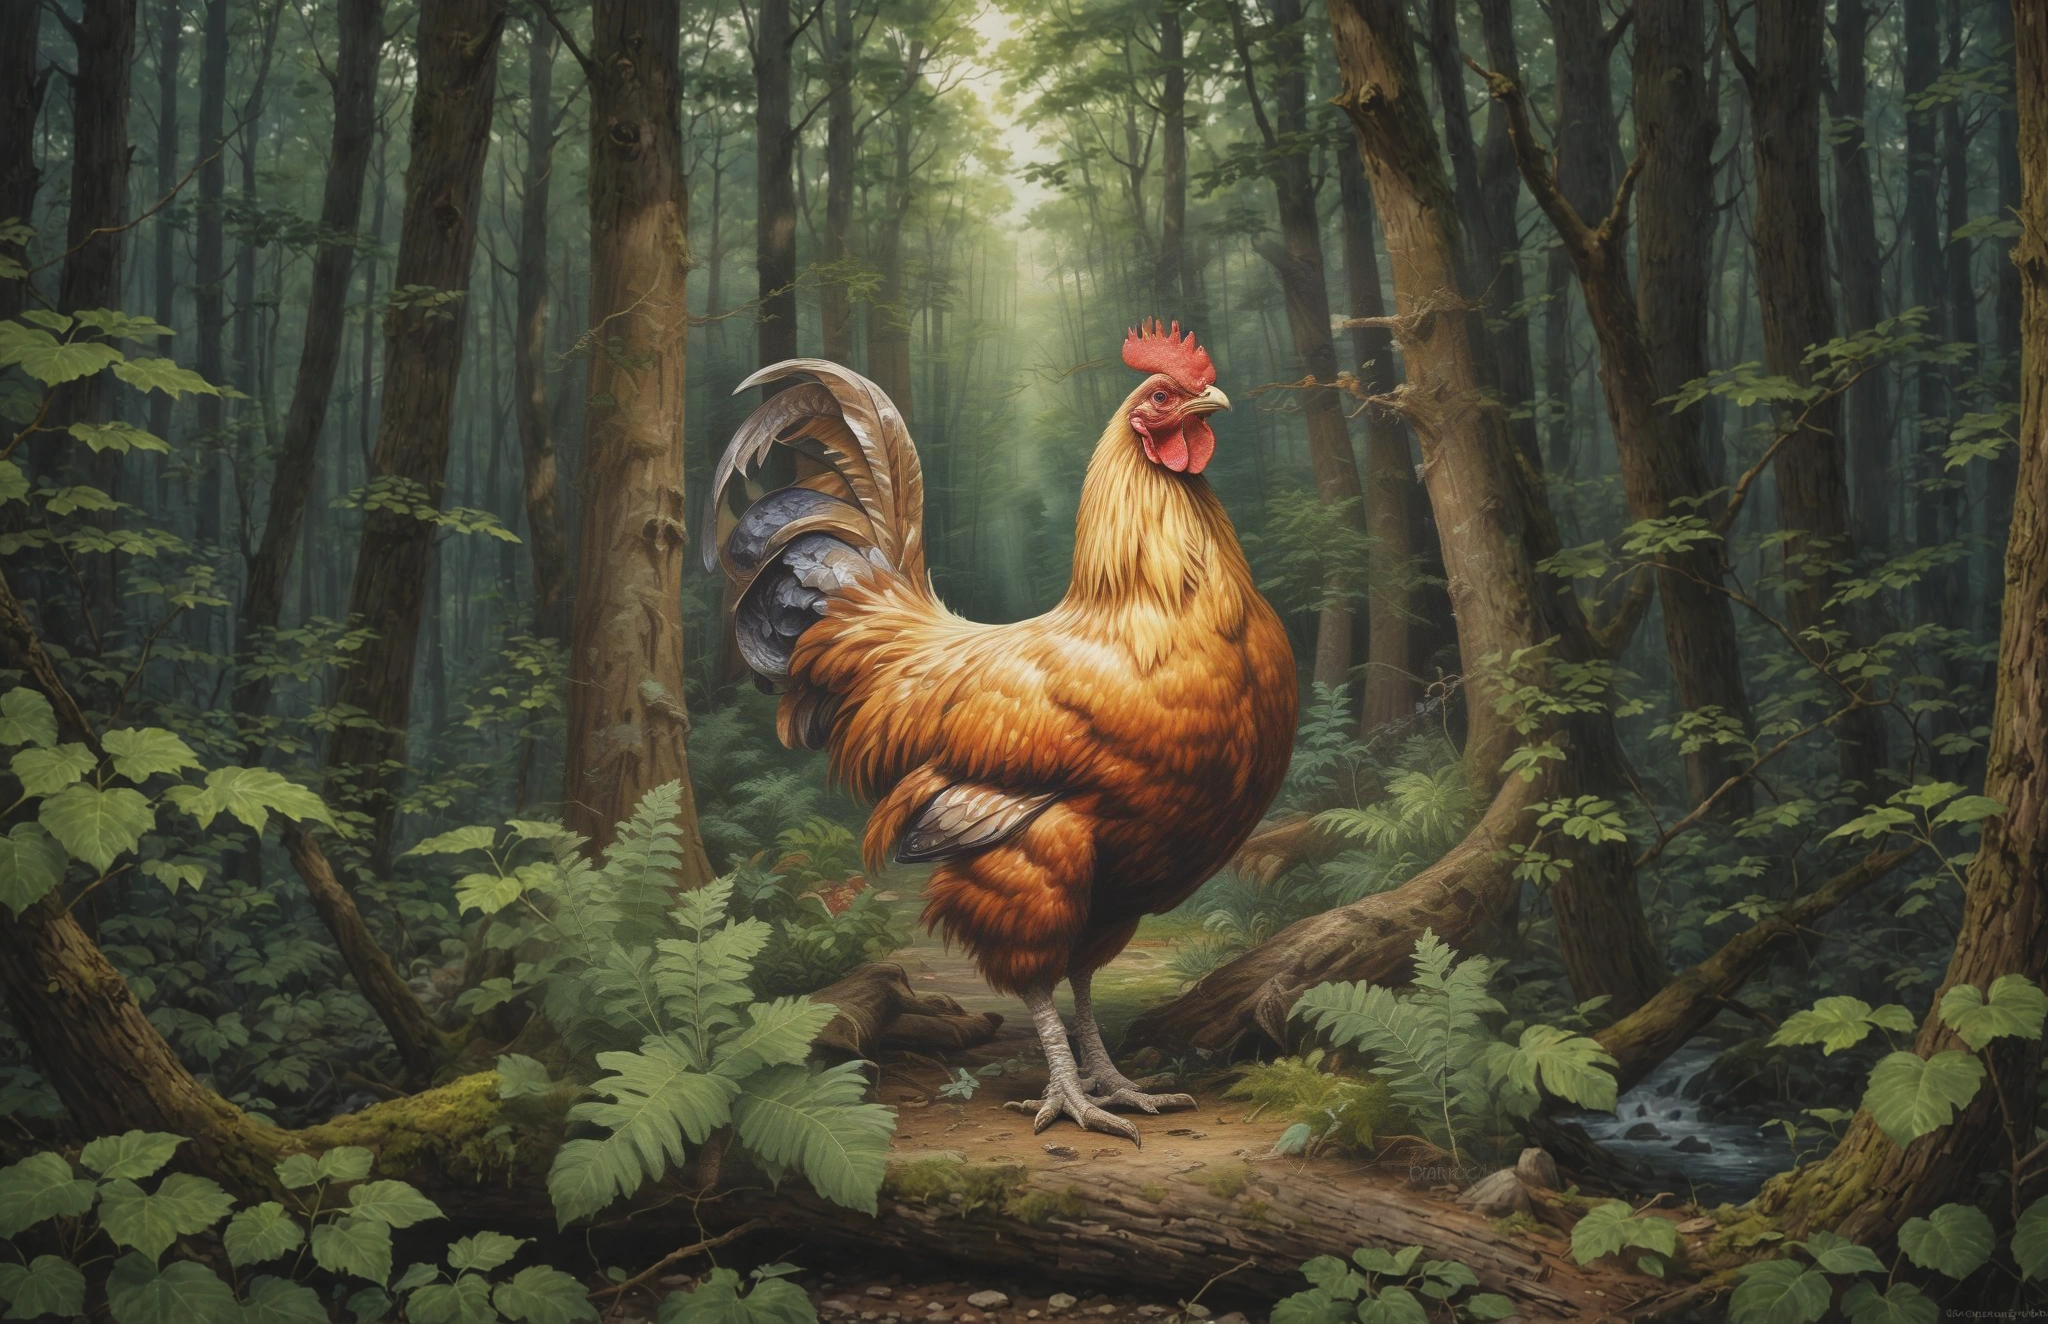
This mode also generates an image from text but uses an existing image as the starting point.Same Style Image
This service extracts stylistic elements from an input image (target image) and uses it to guide the creation of an output image based on the prompt. The result is a new image in the same style as the control image. Example:- Target Image:

- Prompt:
cat in the forest
Erase Objects
The Erase service removes unwanted objects, such as blemishes on portraits or items on desks, using image masks. Example:- Target Image with mask zone:
- Result:
Inpaint Image
Intelligently modify images by filling in or replacing specified areas with new content based on the content of a “mask” image. Example:- Target image with mask zone:
- Prompt:
artificer of time and space
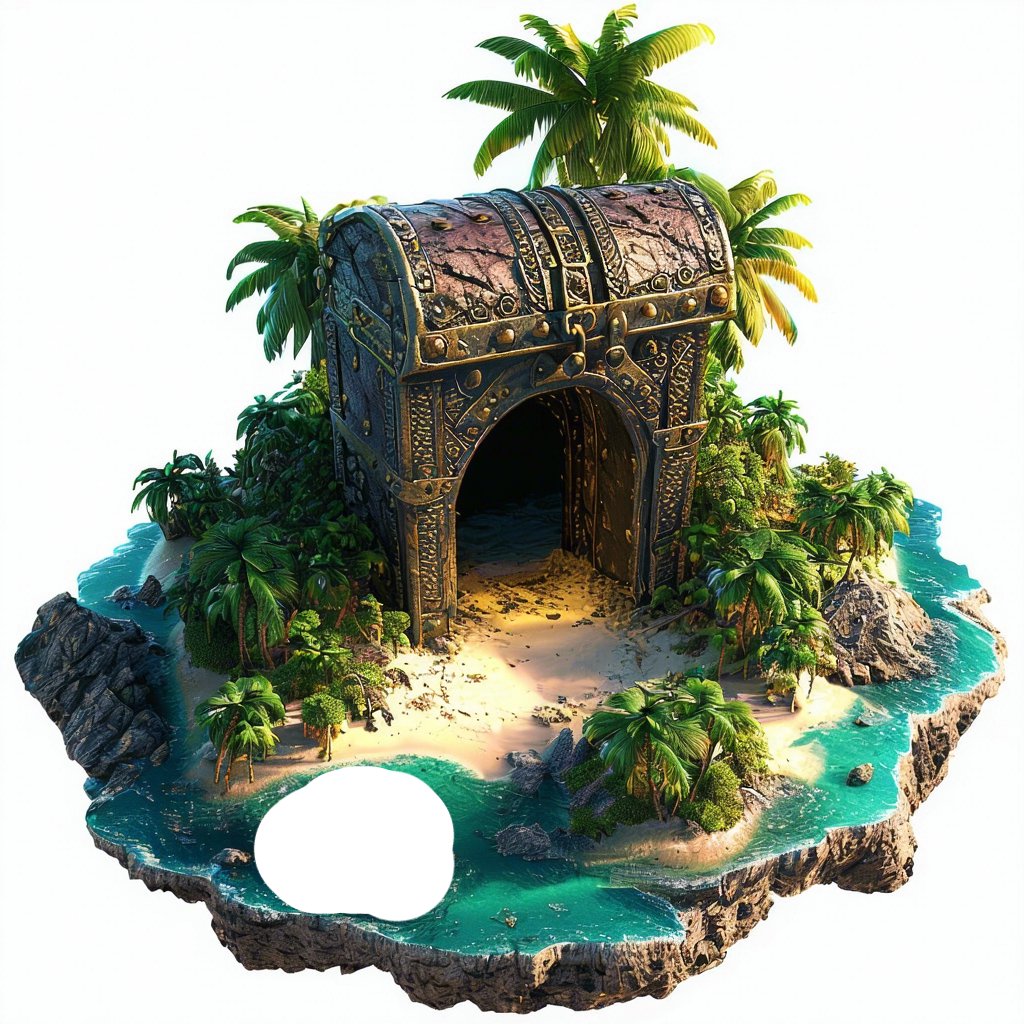
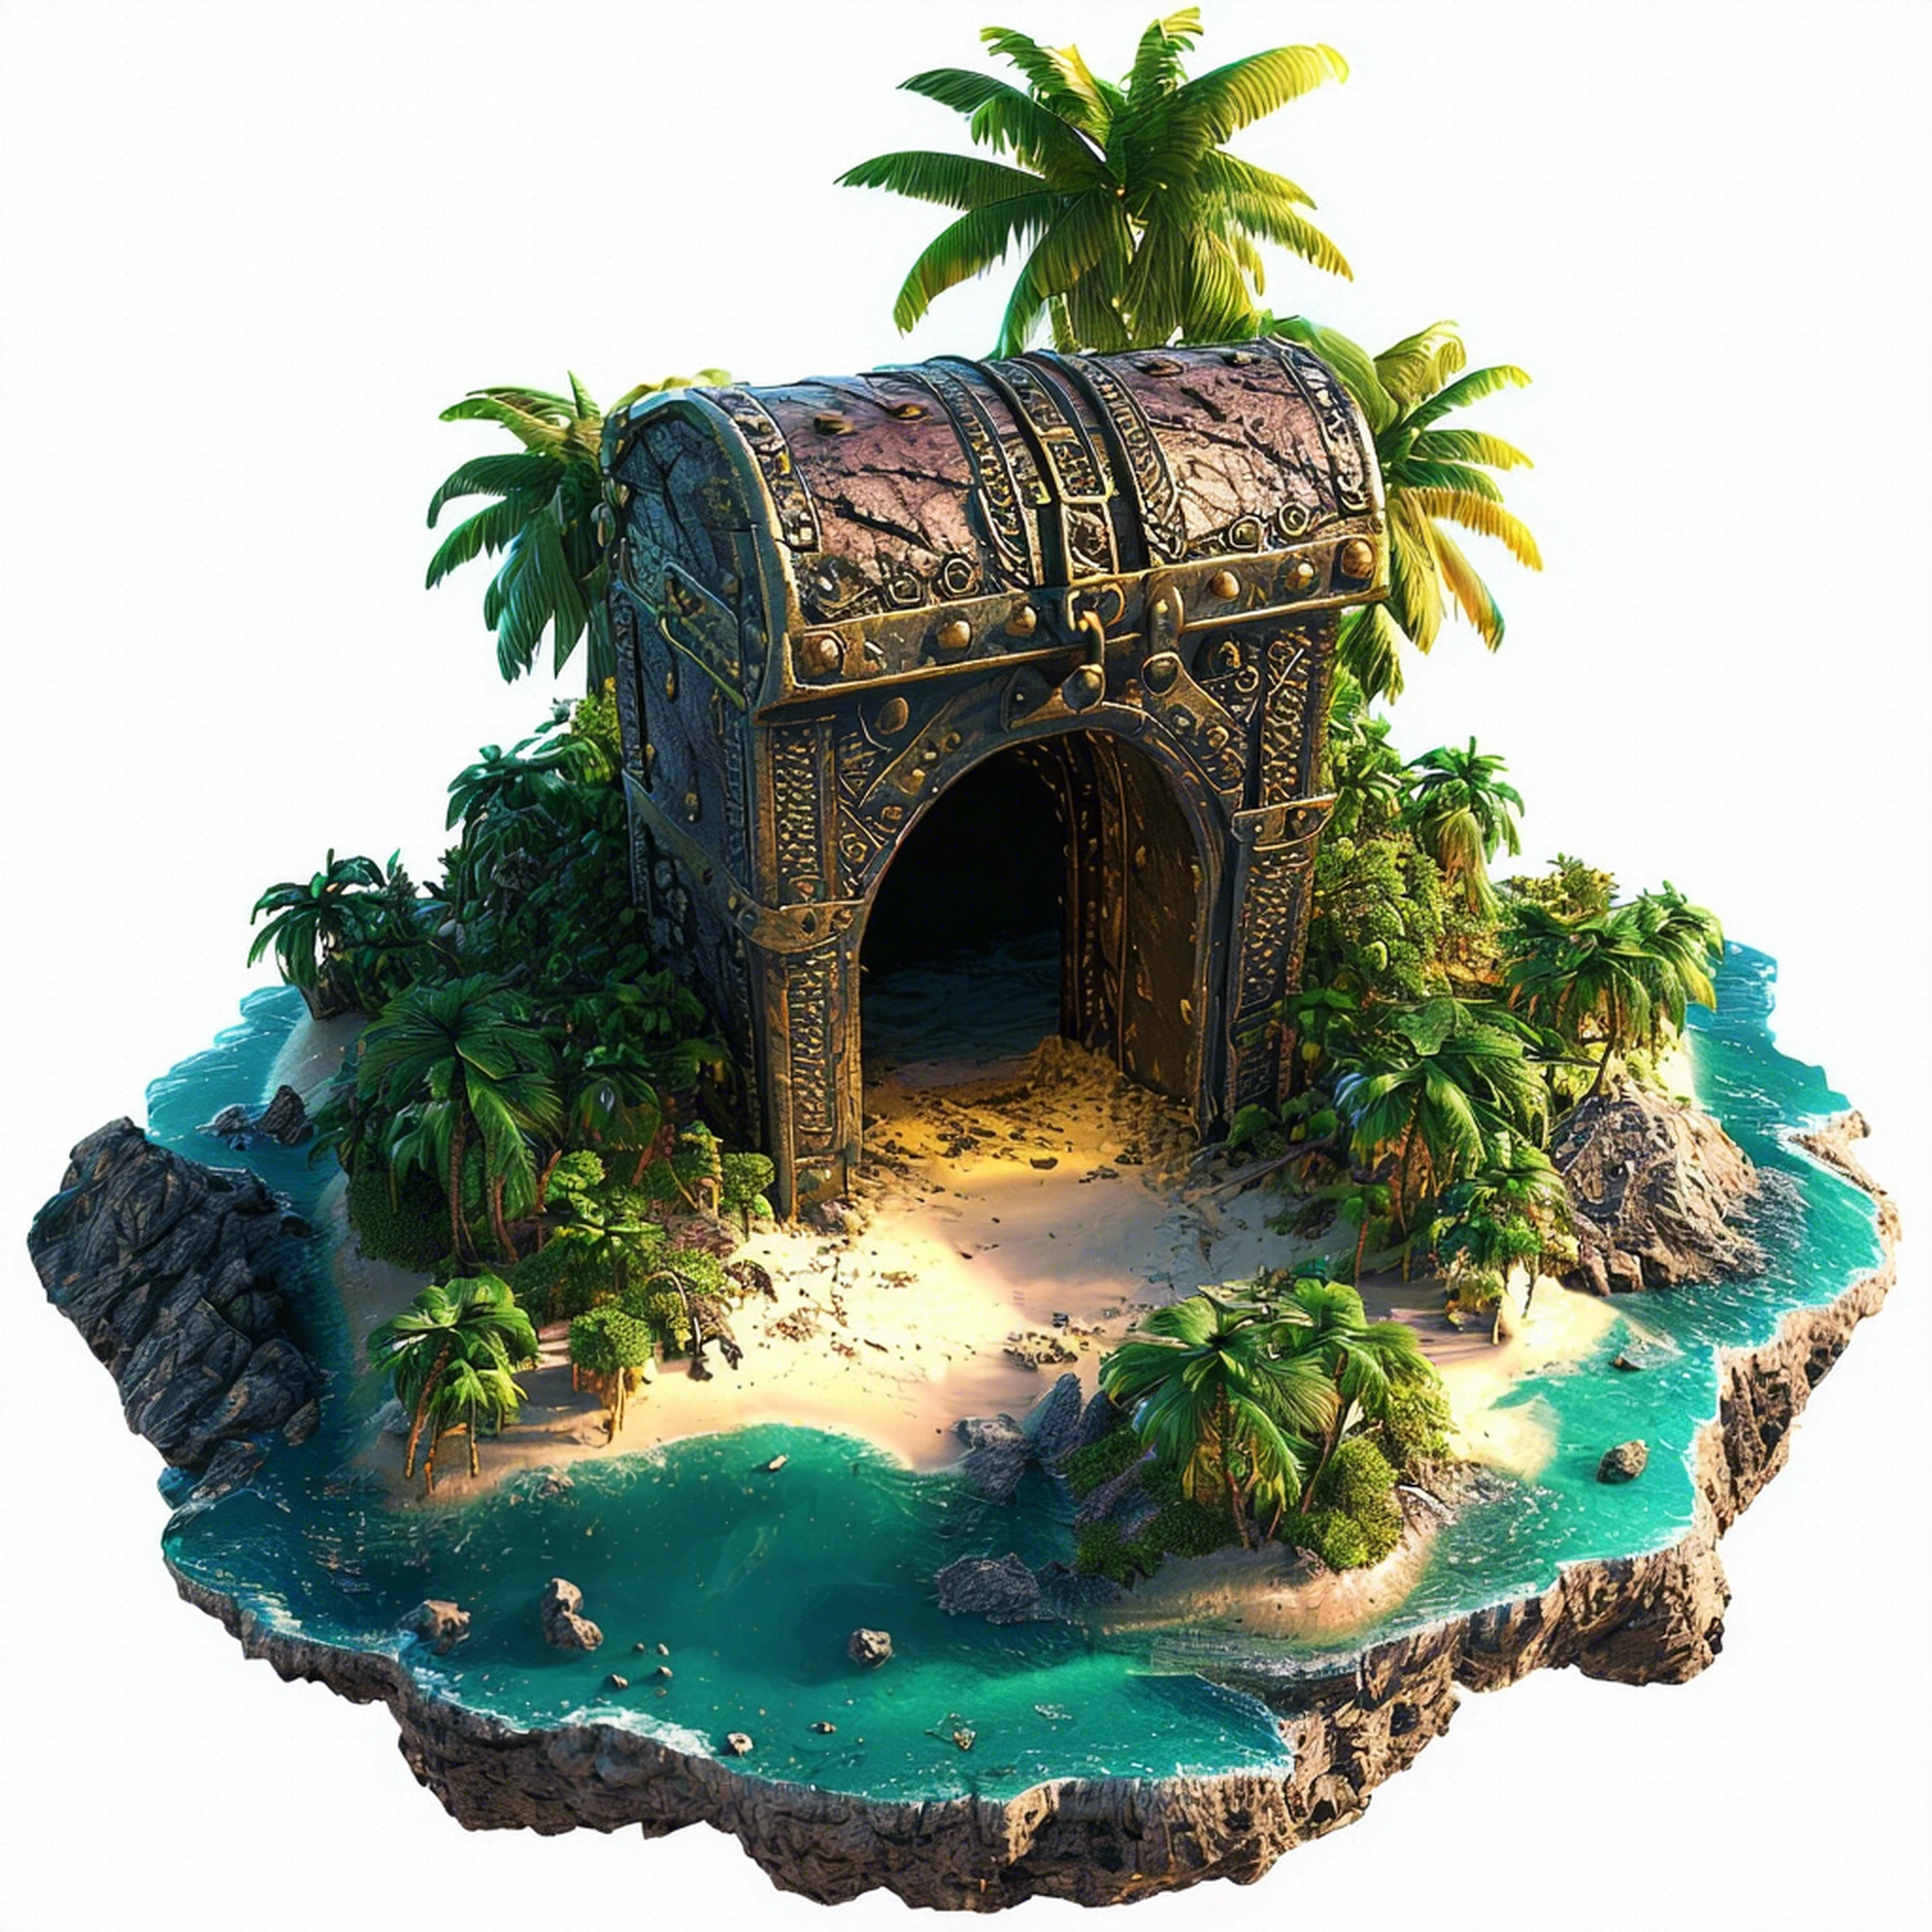
Outpaint Image
The Outpaint service inserts additional content in an image to fill in the space in any direction. Compared to other automated or manual attempts to expand the content in an image, the Outpaint service should minimize artifacts and signs that the original image has been edited. Example:- Target image:

- Result:
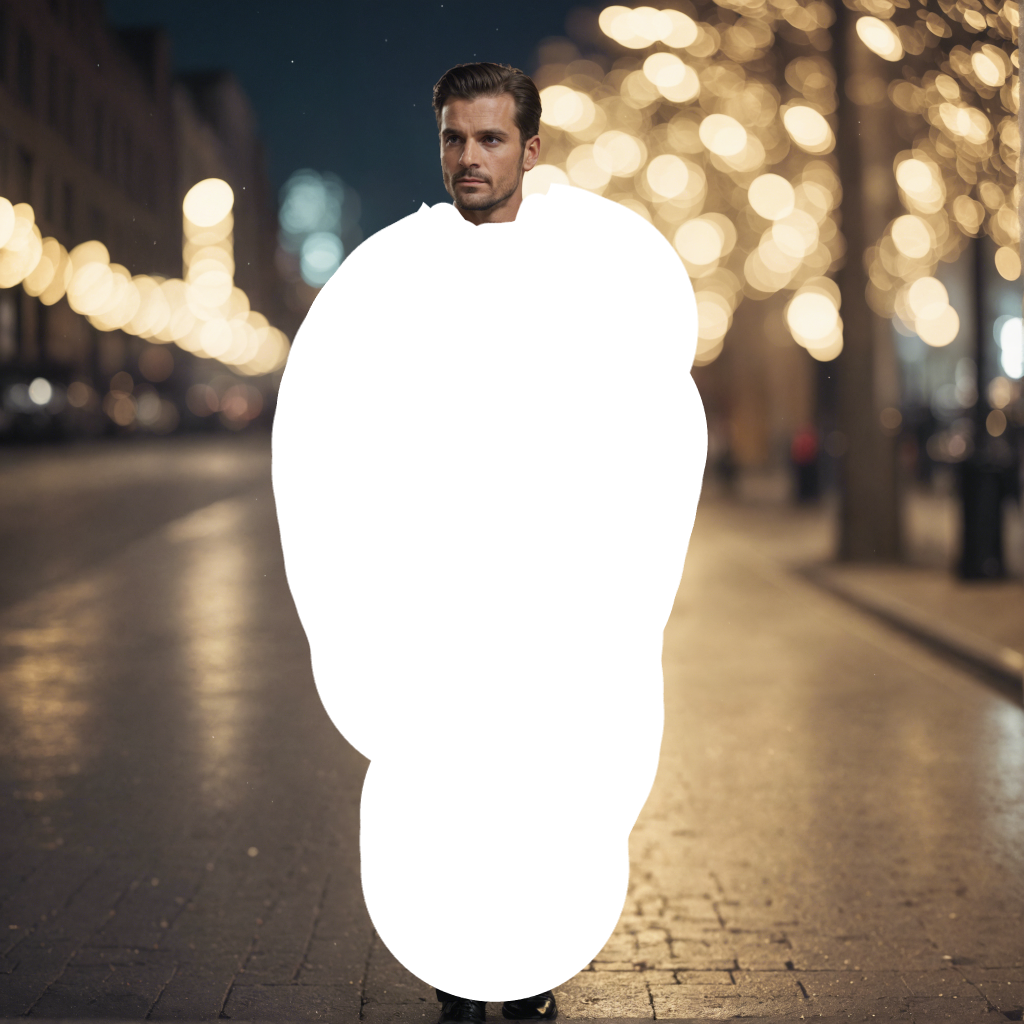
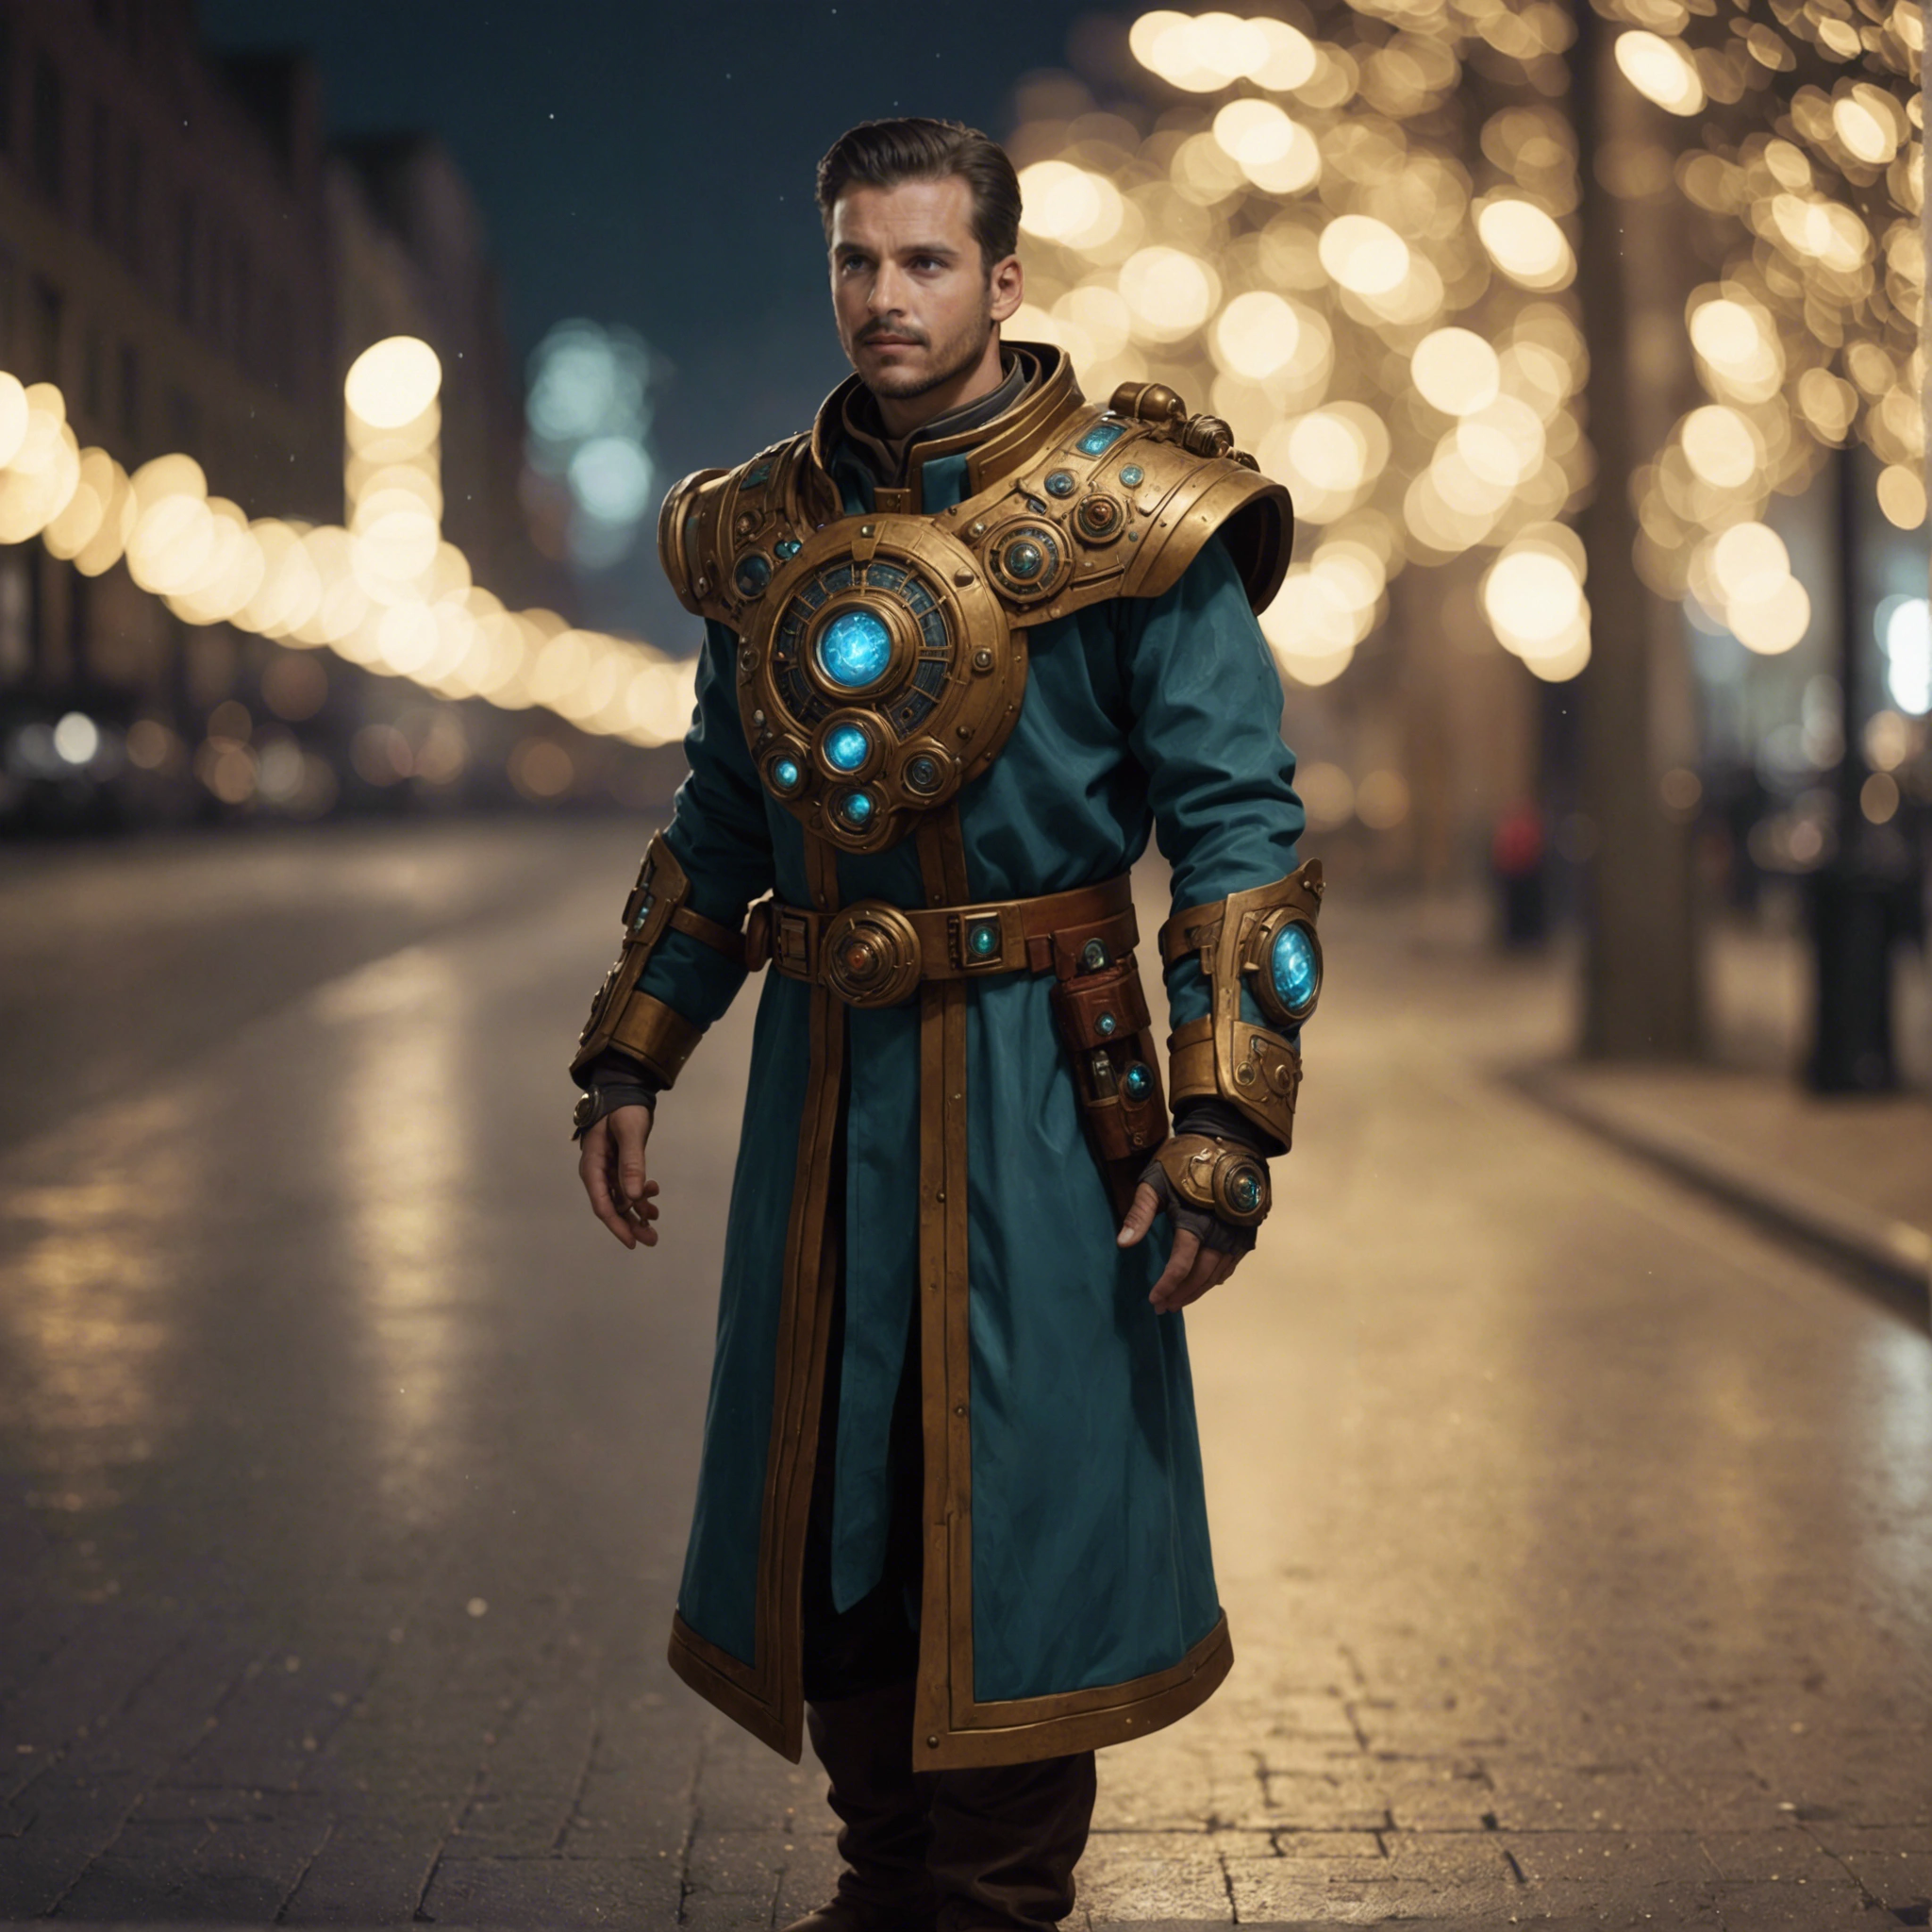
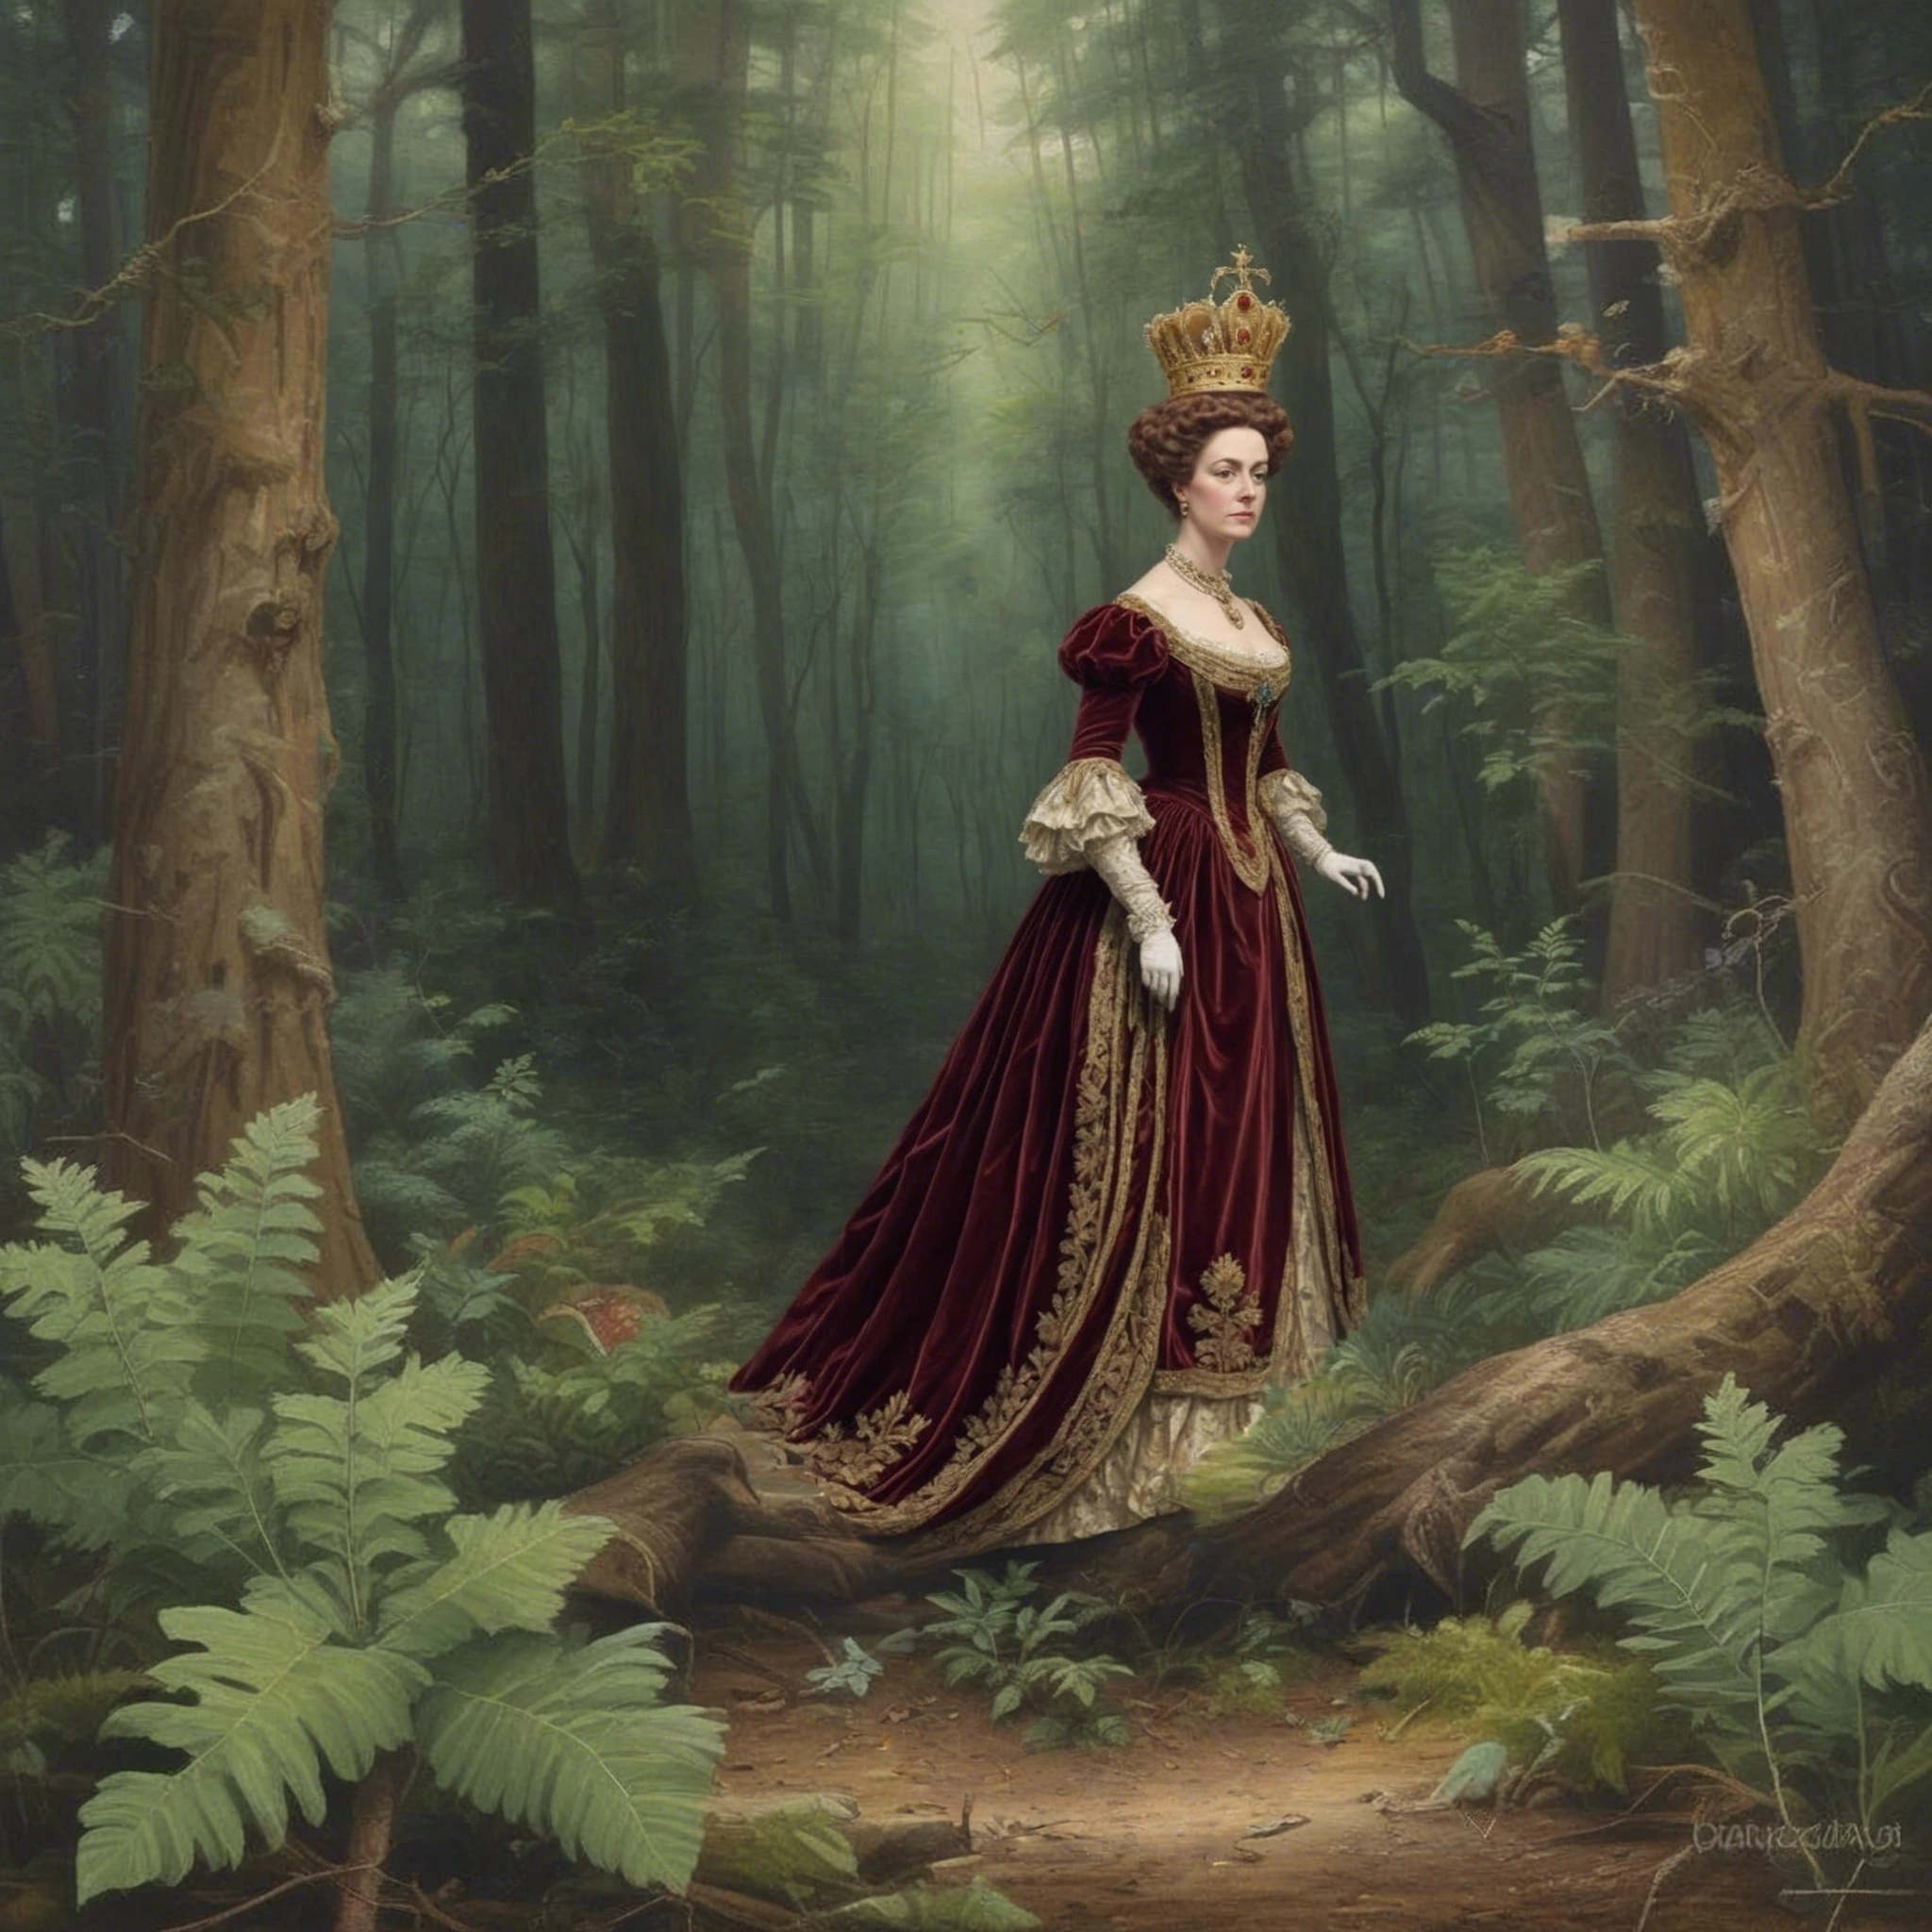
Search and Replace
The Search and Replace service is a specific version of inpainting that does not require a mask. Instead, users can leverage asearch_prompt to identify an object in simple language to be replaced. The service will automatically segment the object and replace it with the object requested in the prompt.
Example:
- Target image

- Prompt:
a victorian queen standing in the forest, looking at the viewer.
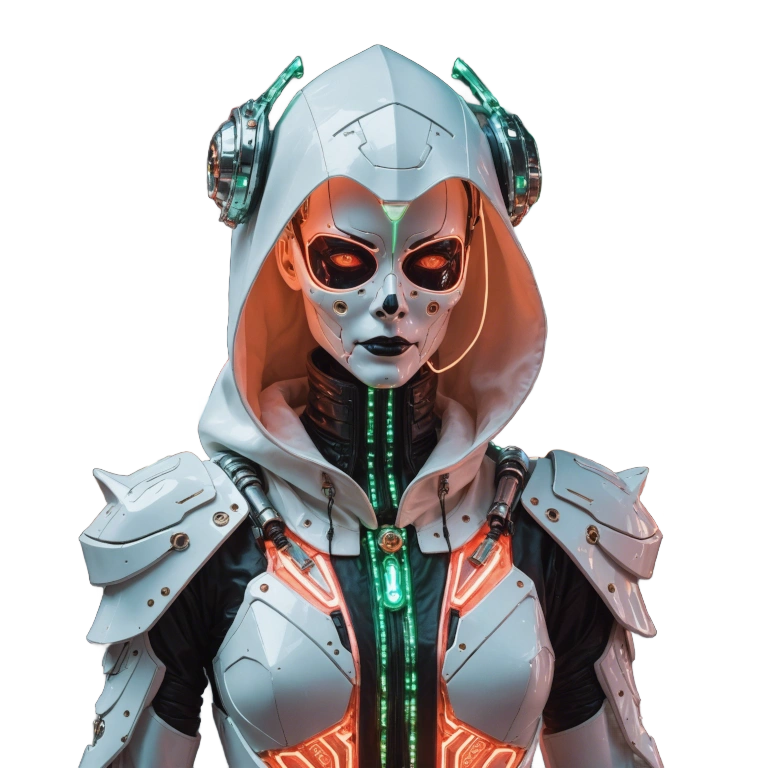
Remove Background
The Remove Background service accurately segments the foreground from an image and implements and removes the background. Example:- Target image
- Result
Sketch to Image
This service offers an ideal solution for design projects that require brainstorming and frequent iterations. It upgrades rough hand-drawn sketches to refined outputs with precise control. For non-sketch images, it allows detailed manipulation of the final appearance by leveraging the contour lines and edges within the image. Example:- Target Image
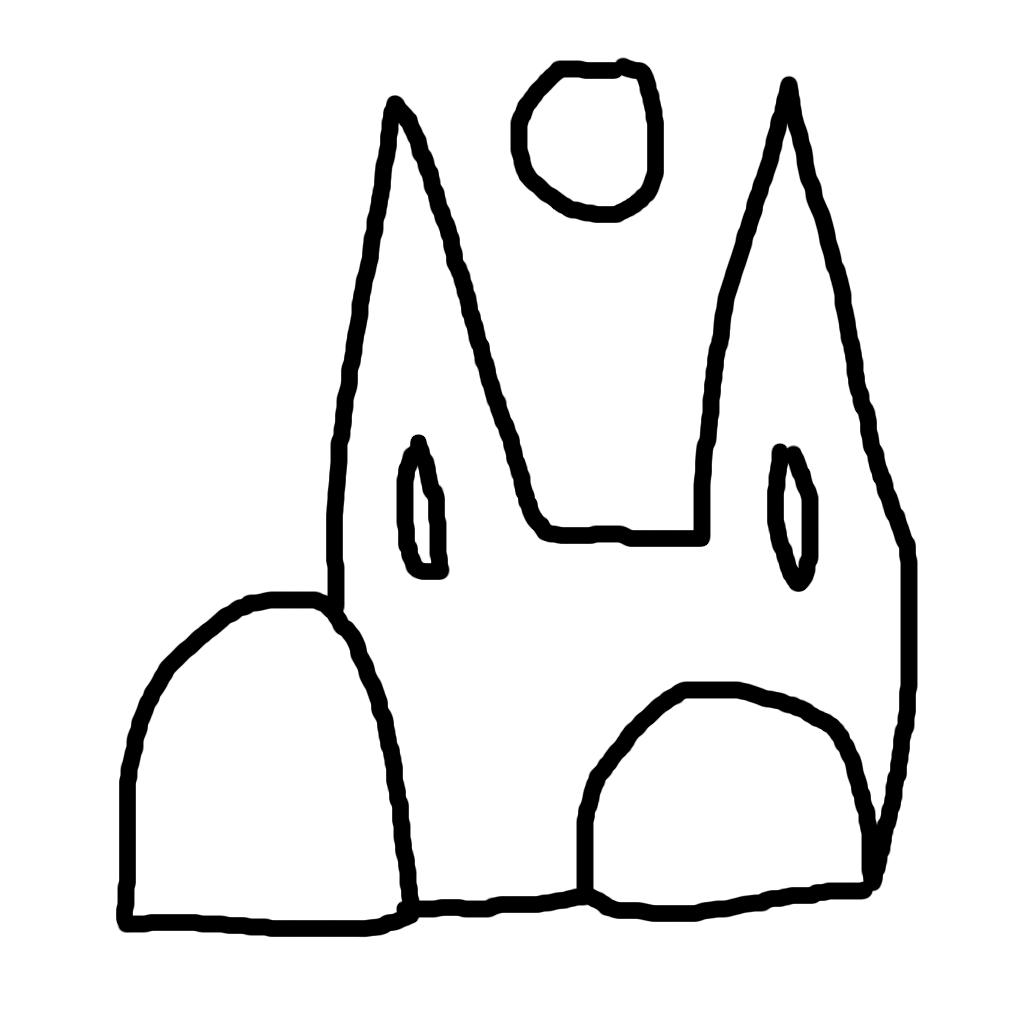
- Prompt:
a creepy wooden cathedral in the forest

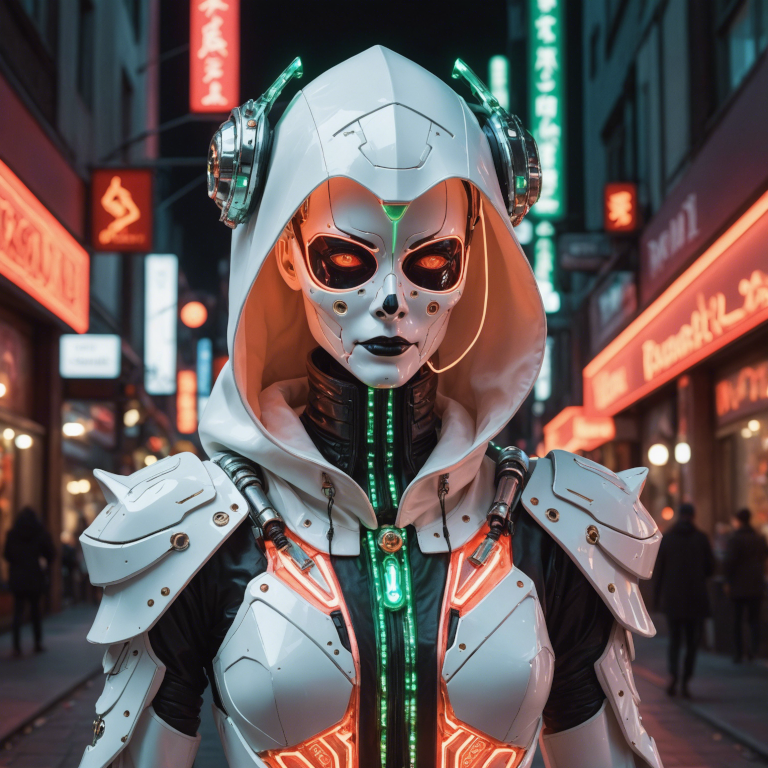
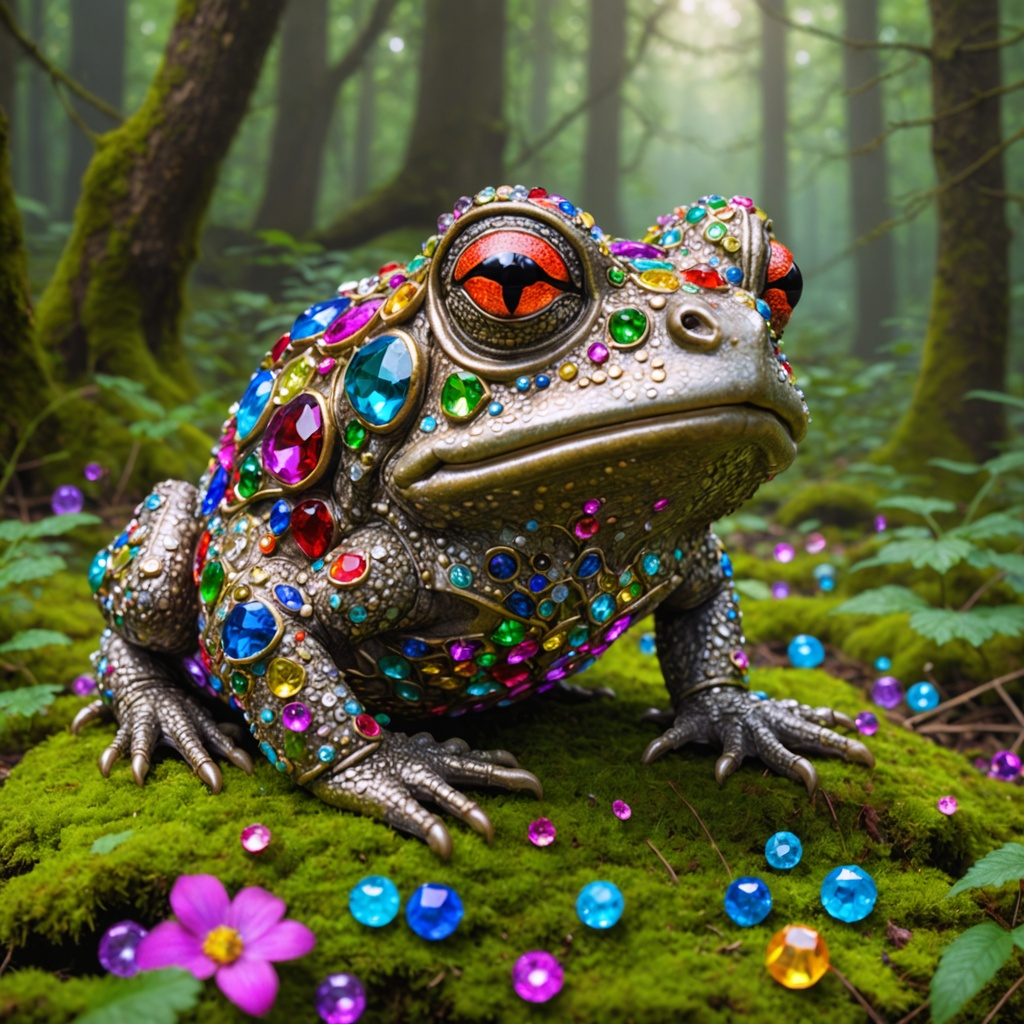
Structure to Image
This service excels in generating images by maintaining the structure of an input image, making it especially valuable for advanced content creation scenarios such as recreating scenes or rendering characters from models. Example:- Target Image
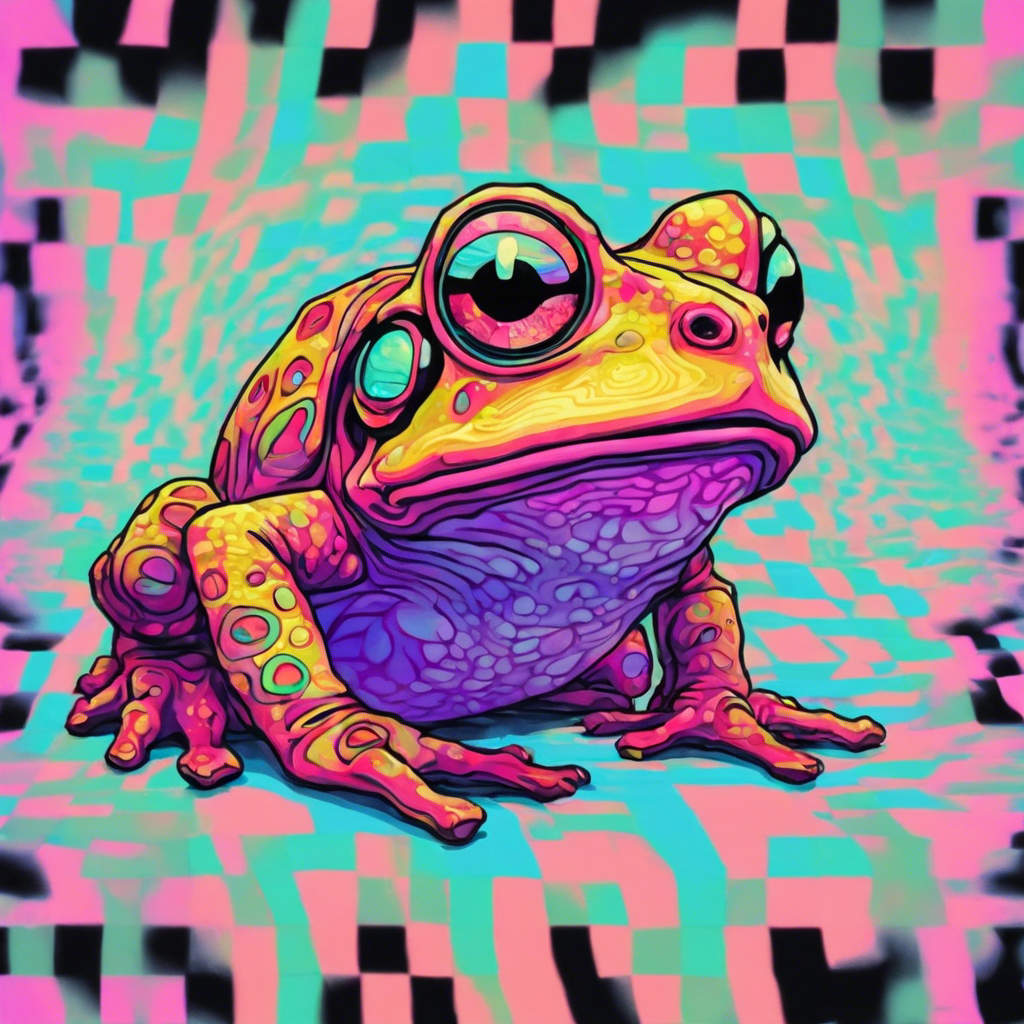
- Prompt:
a victorian toad covered in gems standing in the forest, looking at the viewer
Conservative Upscale
Takes images between 64x64 and 1 megapixel and upscales them all the way to 4K resolution. Put more generally, it can upscale images ~20-40x times while preserving all aspects. Conservative Upscale minimizes alterations to the image and should not be used to reimagine an image.- Target Image
- Result

Creative Upscale
Takes images between 64x64 and 1 megapixel and upscales them all the way to 4K resolution. Put more generally, it can upscale images ~20-40x times while preserving, and often enhancing, quality. Creative Upscale works best on highly degraded images and is not for photos of 1mp or above as it performs heavy reimagining (controlled by creativity scale).- Target Image
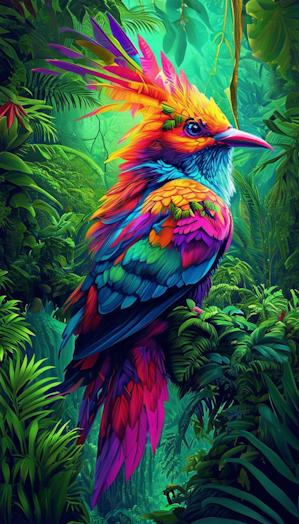
- Prompt:
This dreamlike digital art captures a vibrant, kaleidoscopic bird in a lush rainforest
Result: https://colab.research.google.com/github/stability-ai/stability-sdk/blob/main/nbs/Stable_Image_API_Public.ipynb#scrollTo=vIzPj82p46wM
Text to Image
Most advanced text to image generation service, Stable Image Ultra creates the highest quality images with unprecedented prompt understanding. Ultra excels in typography, complex compositions, dynamic lighting, vibrant hues, and overall cohesion and structure of an art piece. Made from the most advanced models, including Stable Diffusion 3.5, Ultra offers the best of the Stable Diffusion ecosystem. Example:-
Prompt:
dark high contrast render of a psychedelic tree of life illuminating dust in a mystical cave. - Result:
