Extension Configuration
To be able to use Faceswap feature, follow these steps to setup Faceswap Extension.1
Step 1
Go to the Marketplace in Admin Panel and install Faceswap extension after successfully purchasing it first.
2
Step 2
After installation is completed, go to AI Settings page in Admin Panel and click on Extensions tab there. Click on Faceswap there.
3
Step 3
Go to piapi.ai website, sign up with them and get your API Key on your profile page after you successfully complete the registration process on their website.
Store your API key securely and never share it publicly. The key provides direct access to your account.
4
Step 4
To control the settings of Faceswap exension, return to AI Settings page in Admin Panel and click on the Extensions tab, and select Faceswap extension.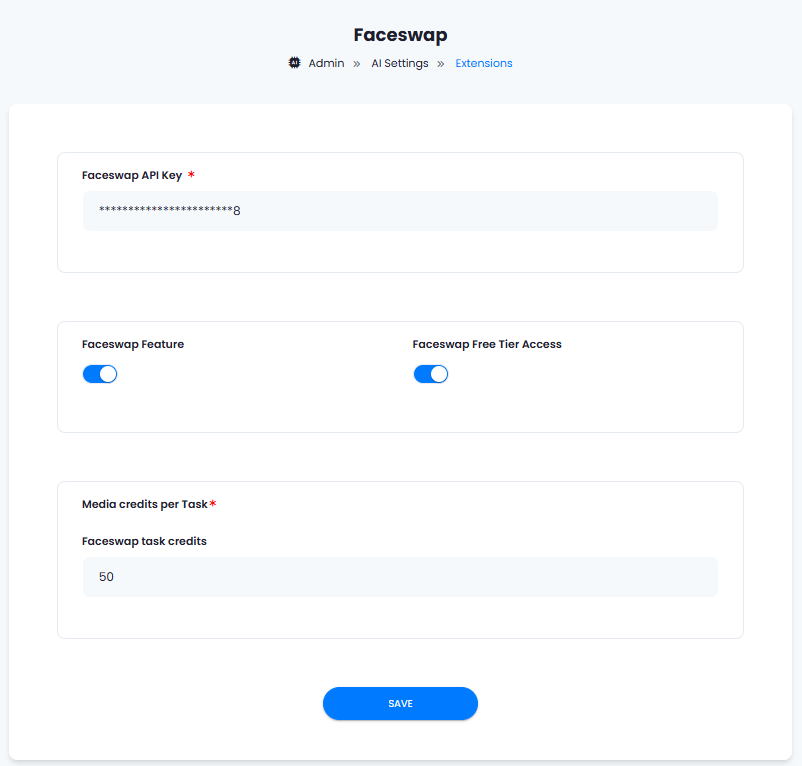
- Enter your Faceswap API Key.
- Turn on the checkboxes for Faceswap Feature and Faceswap Free Tier Access
If you don’t turn on Faceswap Free Tier Access, then users who did not subscribe to any subscription plan where you have Faceswap feature enabled, will not have any access to this feature
- Under the Media credits per task section, set how much media credits each task will require. Davinci AI gives you full control on how you want to charge your users based on media tasks.
- After you are done with configuration, click on the Save button.
5
Step 5
You now have completed the Faceswap extension configuration. Proceed to the section below on how to use it.
How to Use
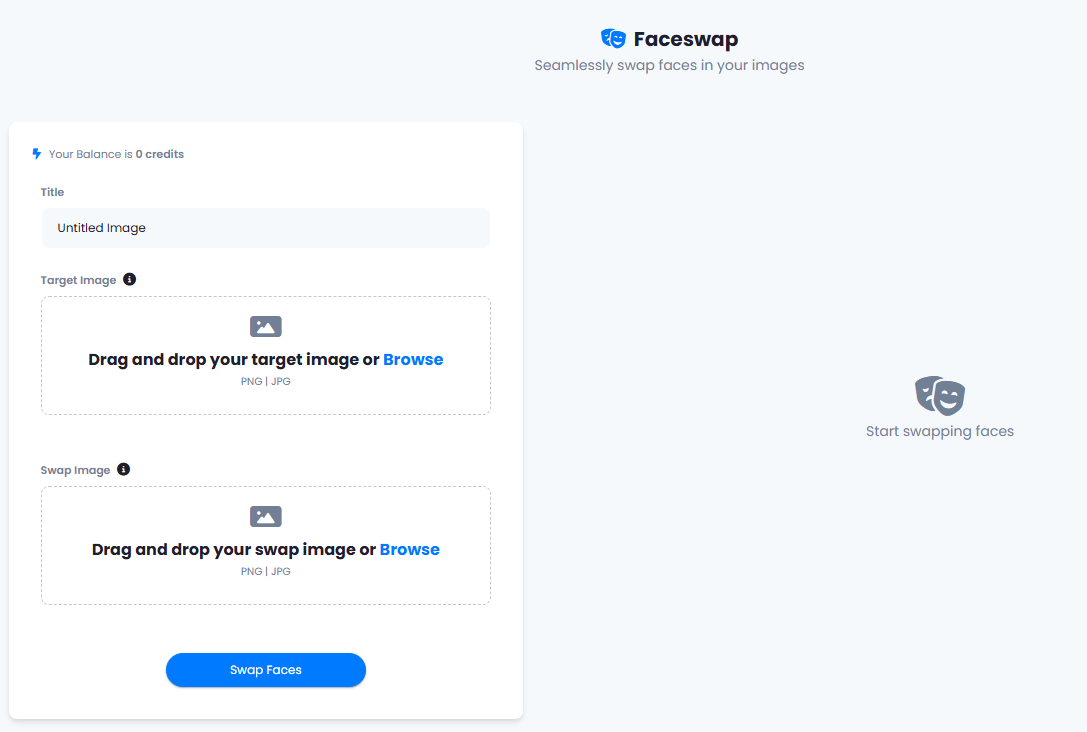
Using Faceswap extension is very easy and straightforward.- Go to AI Faceswap in User panel.
- Provide Title for your task if needed
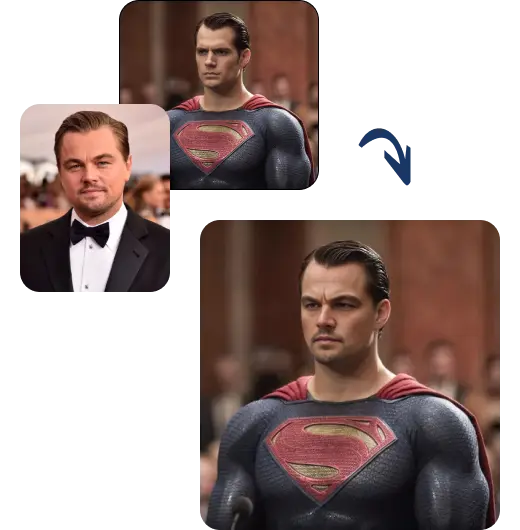
- Upload Target Image, must be in PNG or JPEG formats. It is the image you want to use for replacing the face image there.
- Upload Swap Image, must be in PNG or JPEG formats. It is the face image that you will see in the final result.
- Click Swap Faces button and that is it.
You have successfully comleted the setup process of this extension.