Introduction
Elevate User Engagement with Customizable External Chatbots Enable your clients to design, personalize, and deploy tailored External Chatbots that align with their unique business needs. These sophisticated chatbots can be effortlessly integrated into websites, delivering a seamless and professional user experience. Fully customizable, these chatbots enhance customer interaction by facilitating real-time engagement, providing instant responses to queries, offering personalized recommendations, and optimizing the visitor journey.Key Features and Benefits:
- Brand Alignment: Clients can customize chatbot aesthetics, including colors, logos, and avatars, to ensure a consistent brand identity and a polished website presence.
- Unlimited Creation: Users can develop multiple chatbots tailored to distinct website sections or specific business goals, with no restrictions on quantity.
- Adaptive Training: Chatbots can be continuously trained to evolve with changing user demands, maintaining relevance and effectiveness.
- Personalized Greetings: Craft unique welcome messages to create an engaging and inviting experience for website visitors.
- Insightful: Access detailed chat histories to analyze user interactions, gain valuable insights, and refine customer engagement strategies.
Included Features
- Set Chatbot Name
- Hide Chatbot Names
- Set Chatbot Title
- Set Chatbot Instructions
- Stick to Instructions features
- Custom Fallback Message
- Custom Greetings Message
- Custom Trigger Bubble Message
- Custom Input Message Placeholder
- Select AI Model (OpenAI | Gemini | DeepSeek | Anthropic | xAI)
- Select Interaction Type
- Change Main Header Logo
- Hide Main Header Logo
- Select Custom AI Avatars
- Hide Custom Avatars
- Hide Footer Branding Info
- Hide Message Time
- Set Widget Position
- Customize Header BG Color
- Customize Header Text Color
- Customize AI Box BG Color
- Customize AI Box Text Color
- Customize User Box BG Color
- Customize User Box Text Color
- Single Page URL training
- Entire Webiste URL training
- PDF files training
- Excel/CSV files training
- Text input training
- Q&A input training
- Youtube Video training (coming soon)
- More will be added soon…
Supported LLM Models
- OpenAI | o4 mini
- OpenAI | o3
- OpenAI | o3 mini
- OpenAI | o1 mini
- OpenAI | o1
- OpenAI | GPT 4.5
- OpenAI | GPT 4 Turbo
- OpenAI | GPT 4o mini
- OpenAI | GPT 4o
- OpenAI | GPT 4
- Google | Gemini 2.5 Pro
- Google | Gemini 2.5 Flash
- Google | Gemini 2.5 Flash Lite
- Anthropic | 4 Opus (coming soon)
- Anthropic | 4 Sonnet (coming soon)
- Anthropic | 3 Opus
- Anthropic | 3.7 Sonnet
- Anthropic | 3.5 v2 Sonnet
- Anthropic | 3.5 Haiku
- Deepseek R1
- Deepseek V3
- More will be added soon…
Extension Configuration
1
Step 1
Go to the Marketplace in Admin Panel and install External Chatbot extension after successfully purchasing it first.
2
Step 2
After installation is completed, go to AI Settings page in Admin Panel and click on Extensions tab there. Click on External Chatbot there.
3
Step 3
To control the settings of External Chatbot exension, return to AI Settings page in Admin Panel and click on the Extensions tab, and select External Chatbot extension.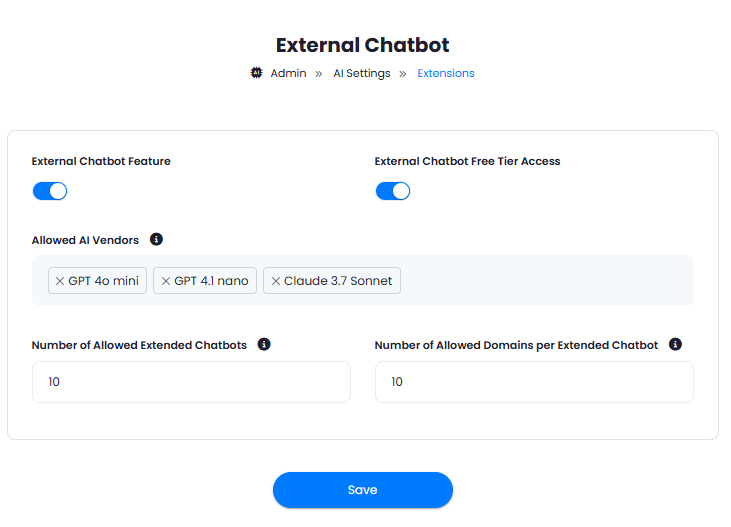
- Turn on the checkboxes for External Chatbot Feature and External Chatbot Free Tier Access
If you don’t turn on External Chatbot Free Tier Access, then users who did not subscribe to any subscription plan where you have External Chatbot feature enabled, will not have any access to this feature
- List which AI LLM models you want your users to have access to under Allowed AI Vendors, it supports many different models from various AI vendors.
- Set Number of Allowed Extended Chatbots that users can create.
- Set Number of Allowed Domains per Extended Chatbot where each created external chatbot can run.
- After you are done with configuration, click on the Save button.
4
Step 4
Congratulations! You now have completed the External Chatbot extension configuration. Proceed to the section below on how to use it.
How to Use
Using External Chatbot extension is very easy and straightforward. It gives you full flexibility on customizing your external chatbot to match the styles of the taget website where it will be running.- Go to AI Chatbots in User panel.
- First thing you will see there is the General Statistics information.
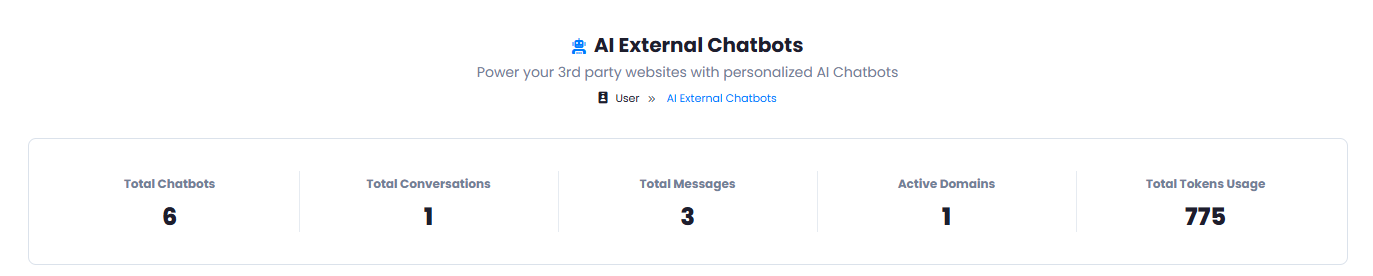
- Down below you will see Create New Chatbot and View Recent Conversations buttons.

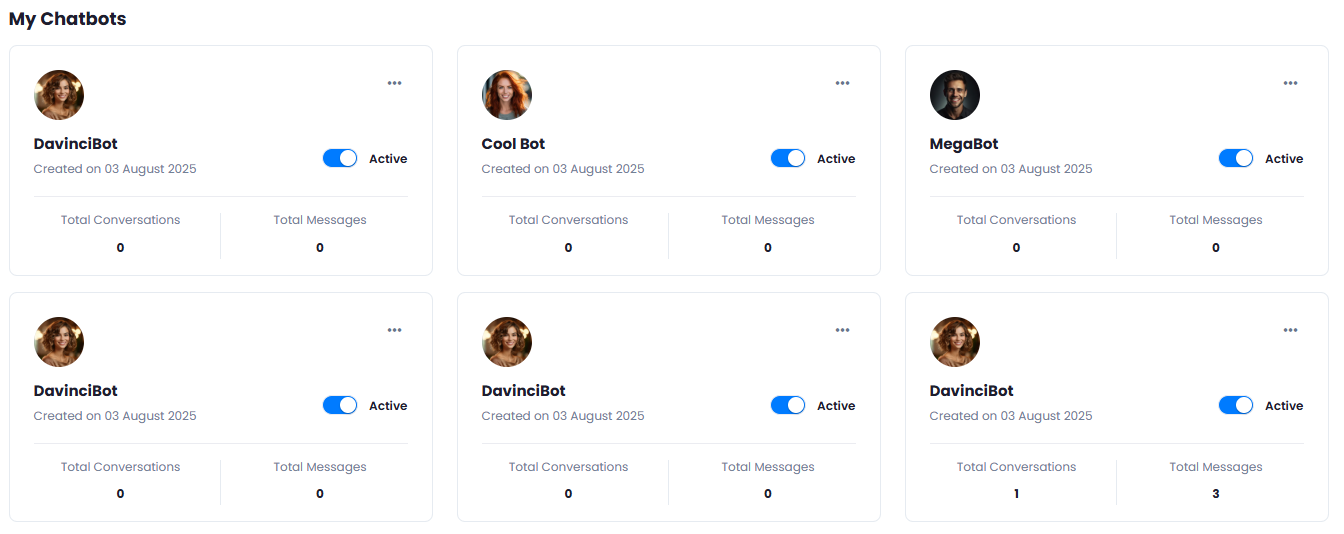
- And finally you will see all the chatbots that you have created. You can create up to the allowed amount, but you can always delete older ones to create new or subscribe to a plan with higher number of allowed external chatbots.
Create Chatbot
To create your chatbot click on the Create New Chatbot button.Step 1. Configure Chatbot
Under the first configure step, you can configure everything related to the text, AI, and other settings. Below is the explanation of all feature. You also have live preview for each step on the right side.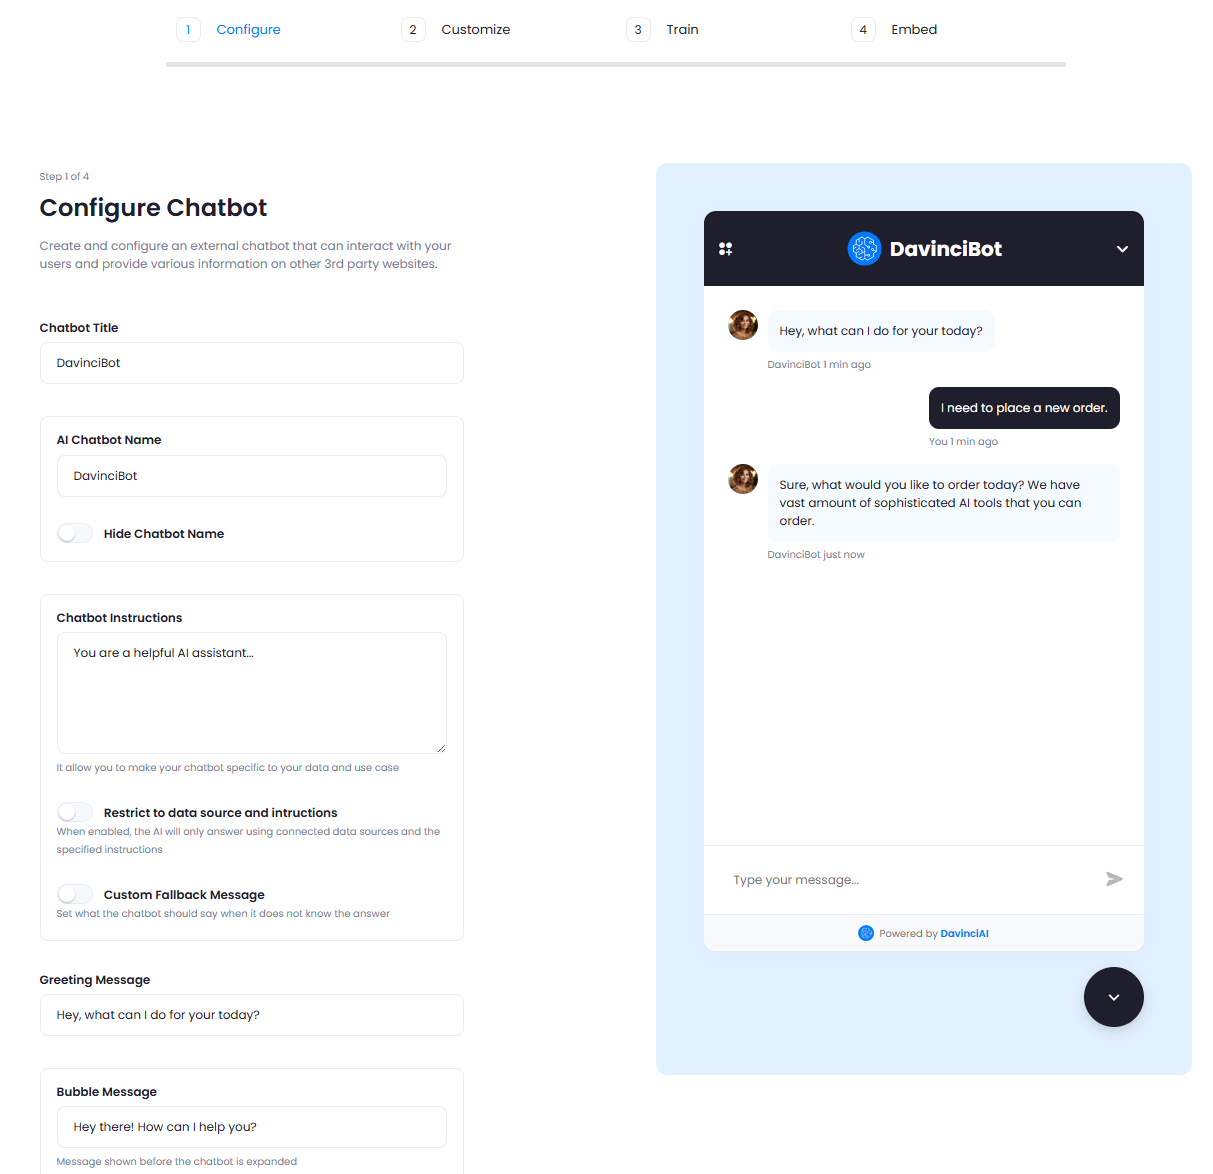
- Chatbot Title - title that will be visible at the heading of the chatbot once it’s open

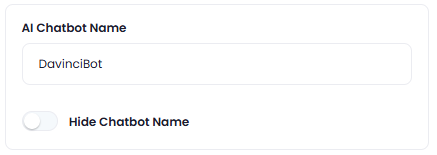
- AI Chatbot Name - the name of the chatbot, you can also hide it by toggling the Hide Chatbot Name checkbox.
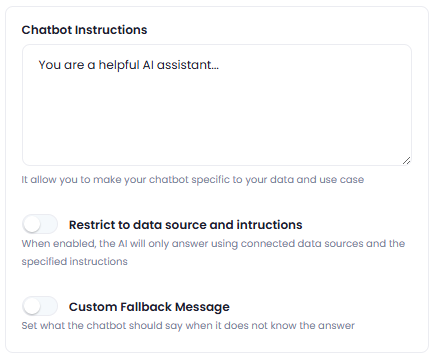
- Chatbot Instructions - this is where you instruct your chatbot on its role, be detailed as possible if you want to get specific results.
- You can also turn on Restrict to data source and intructions - When enabled, the AI will only answer using connected data sources and the specified instructions
- For the cases when chatbot will not be able to answer, you can set Custom Fallback Message and provide your own custom response as you prefer and chatbot will repond with that if will not have a proper answer to end user’s question.
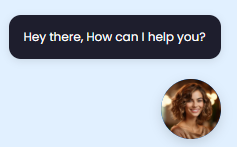
- Greeting Message - is the first message that AI list for the user when he visits the chatbot.

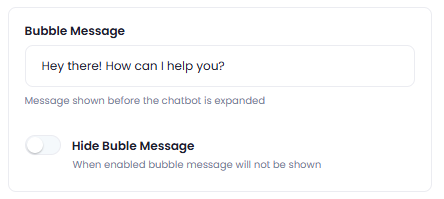
- Bubble Message - is the popup message visible to the user before he clicks on the chatbot. You can also turn it off with Hide Buble Message checkbox.
- User Message Placeholder - you can set custom message for the input field if you prefer

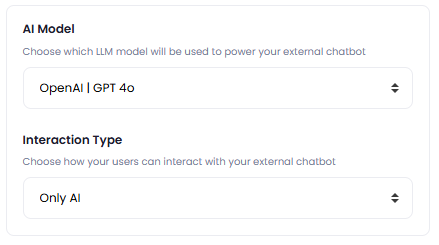
- AI Model - this is where you set the model of the chatbot, it will only use the selected model, it supports many different LLM models that you can choose from.
Step 2. Customize Chatbot
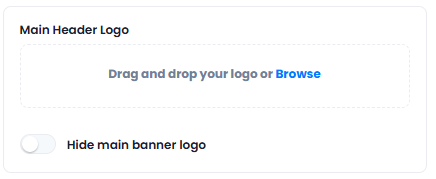
Under the second step, you can fully customize the styling of the chatbot and adjust it as needed.- Main Header Logo - you can upload custom main header logo, but default it uses the one that is being used in your homescript. You can also disable it with Hide main banner logo checkbox.
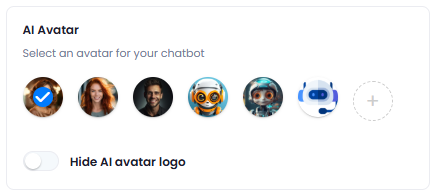
- AI Avatar - you can customize the chatbot avatar as needed or disable it with Hide AI avatar logo checkbox.
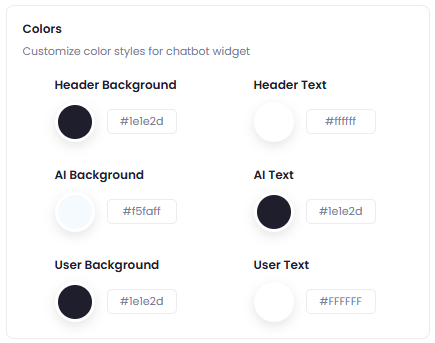
- Colors - colors section gives you full flexibility on customzing the color styles, you can Independently set following color:
- Header Background Color
- Header Text Color
- AI Background Color
- AI Text Color
- User Background Color
- User Text Color
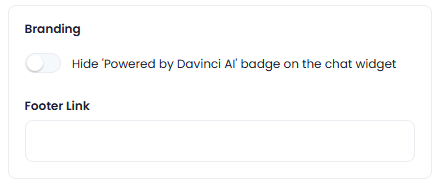
- Branding - you can hider or show footer branding info as needed. You can also set Footer Link which will redirect to any destination as you prefer upon clicking the company name in the footer section.
- Hide Date and Time of Messages - you can also hide the date and time under the chatbot messages if you want.

- Widget Position - you can configure widget position, the placement where it will be shown in the website.

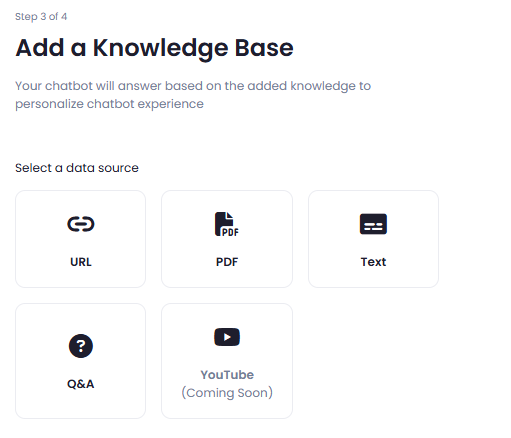
Step 3. Training - Add a knowledge Base
You have 6 options to train the chatbot:- URL (Single Page and Entire Website)
- PDF files
- Excel/CSV files
- Text inputs
- Q&A inputs
- Youtube videos
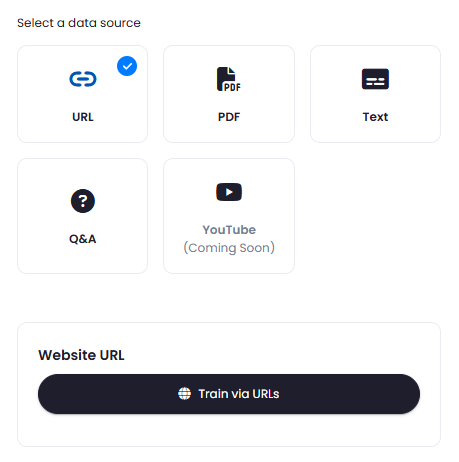
Training with URL
You can train your chatbot with a single page URL or entire website URL.- Select URL from the list and click on the Train via URLs button.
- You will be redirected to Website Embedding page.
- Enter your URL and select either
Single PageorEntire Websiteoption and click on Start Crawling button.

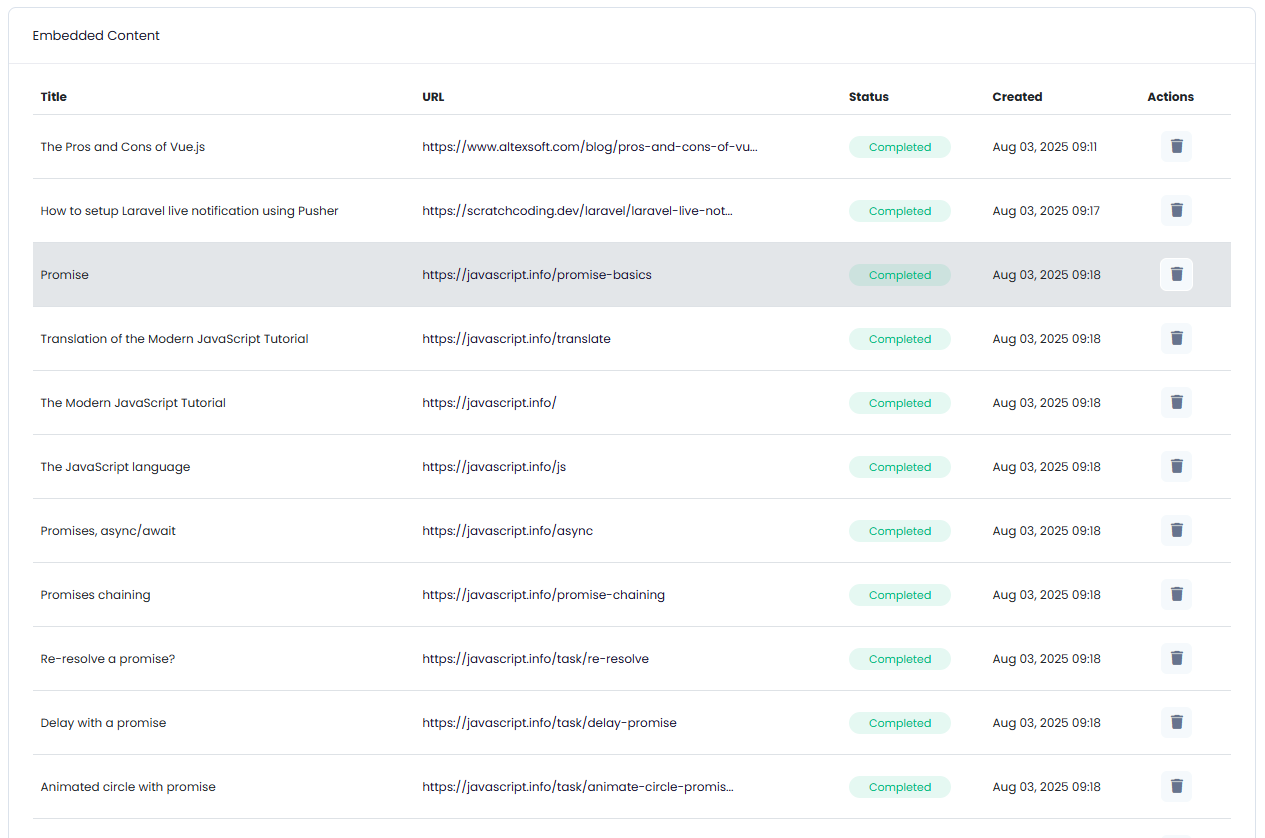
- It will start processing your URL and generate Embedding out of it and will populate the Embedded Content table.
Training with PDF
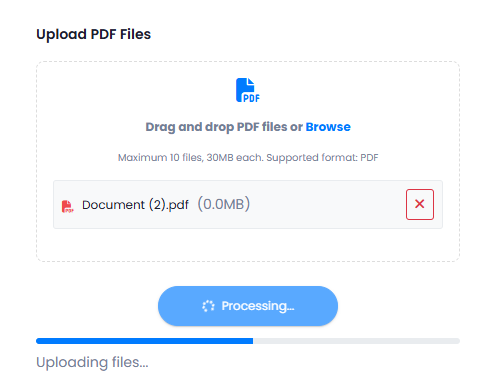
You can train with up to 10 PDf files with a size of up to 30MB for each file in a single task.- Select PDF from the list.

- Upload your PDF file(s) and click on Upload & Train button.
- It will start processing your PDF file(s) and once completed, you will receive a status notification message.
Training with Excel/CSV
You can train with up to 10 CSV files with a size of up to 30MB for each file in a single task.- Select Excel/CSV from the list.
- Upload your PDF file(s) and click on Upload & Train button.
- It will start processing your PDF file(s) and once completed, you will receive a status notification message.
Training with Text Input
You can include unlimited text title and content pair to train your chatbot.- Select Text from the list.
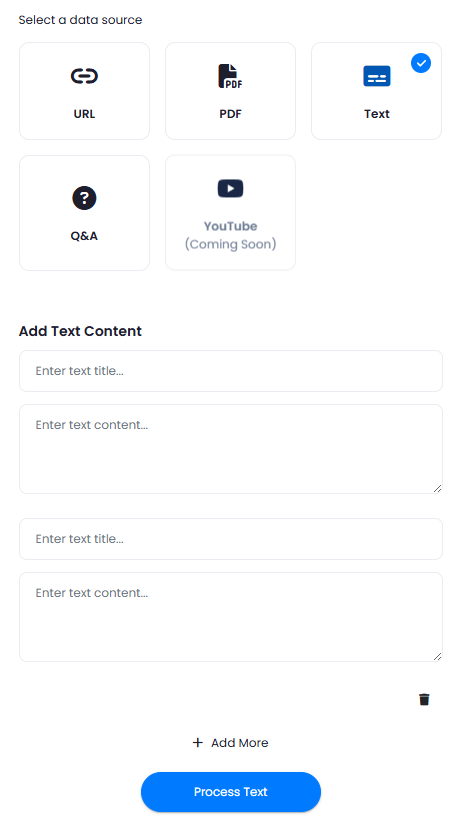
- Enter Text title and Text content. If more needed, simply click on the Add More button.
- Once you are done, click on the Process Text button and once completed, you will receive a status notification message.
Training with Q&A Input
You can include unlimited question and answer pair to train your chatbot.- Select Q&A from the list.
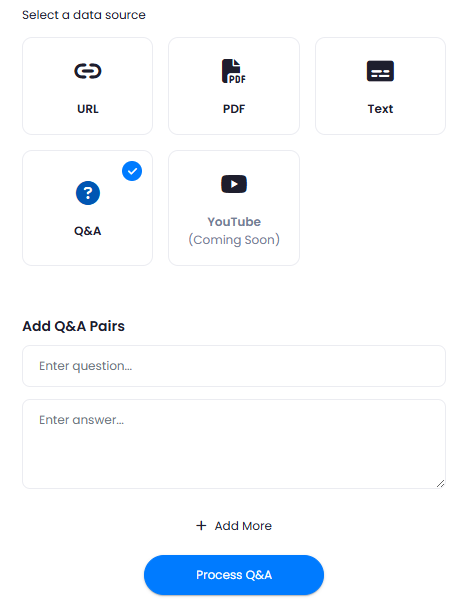
- Enter your question and answer. If more needed, simply click on the Add More button.
- Once you are done, click on the Process Text button and once completed, you will receive a status notification message.
Embed and integrate
After you are done with creating and training your chatbot, to embed the chatbot into your website, you can use the provided code snippet.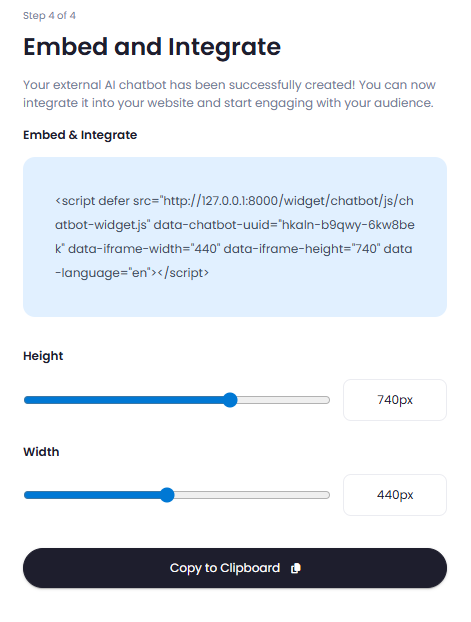
<body> in your target website and you will automatically see the chatbot available on your website.
Congratulations! You have completed the chatbot creation and training.