This is a free extension available for anyone
Introduction
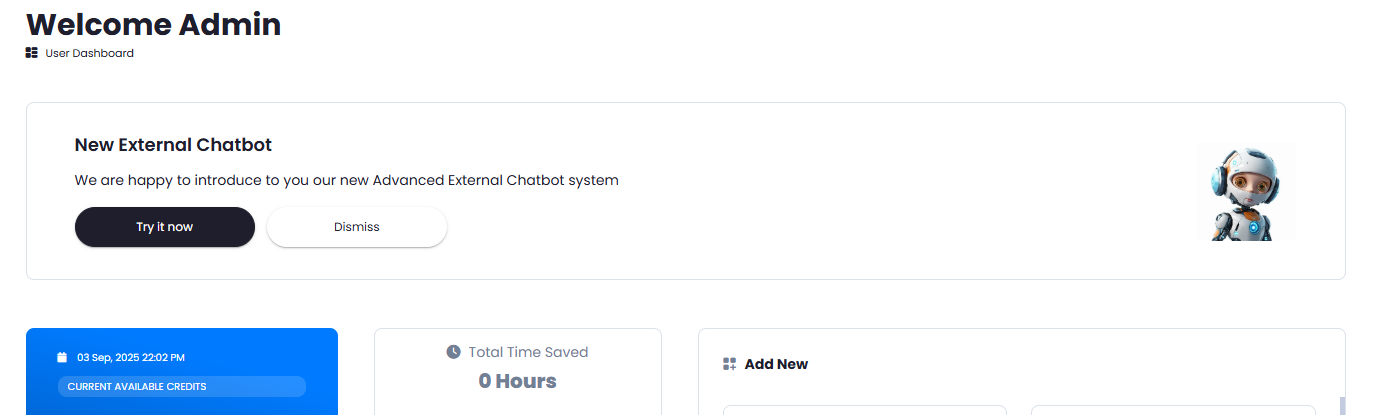
Keep your visitors well-informed about your new feature releases of about any marketing or promo announcements in a real live mode with Live Announcement Extension. Ideal for notifications, any kind of public announcements, and let your users stay informed about anything you prefer.Extension Configuration
To be able to use Live Announcement feature, follow these steps to setup Live Announcement Extension.1
Step 1
Go to the Marketplace in Admin Panel and install Live Announcement extension.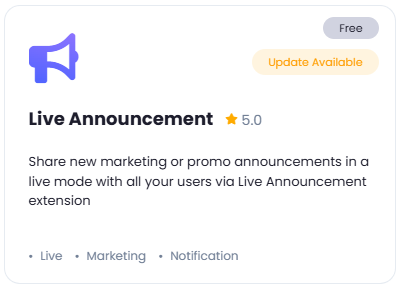
2
Step 2
After installation is completed, go to AI Settings page in Admin Panel and click on Extensions tab there. Click on Live Announcement there.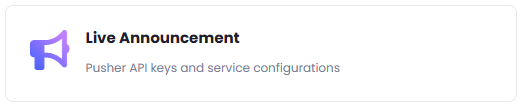
3
Step 3
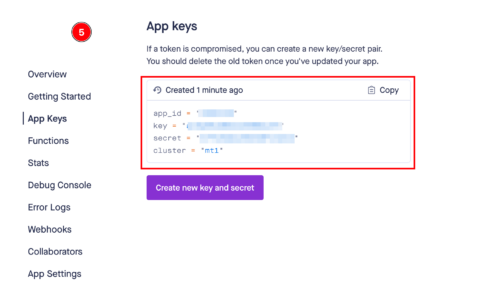
In the Live Announcement page, you will need to enter your Pusher API keys and credentials. Fill in all the fields and click on Save button afterwards. If you need help with configuration of Pusher account, refer to step 4 below.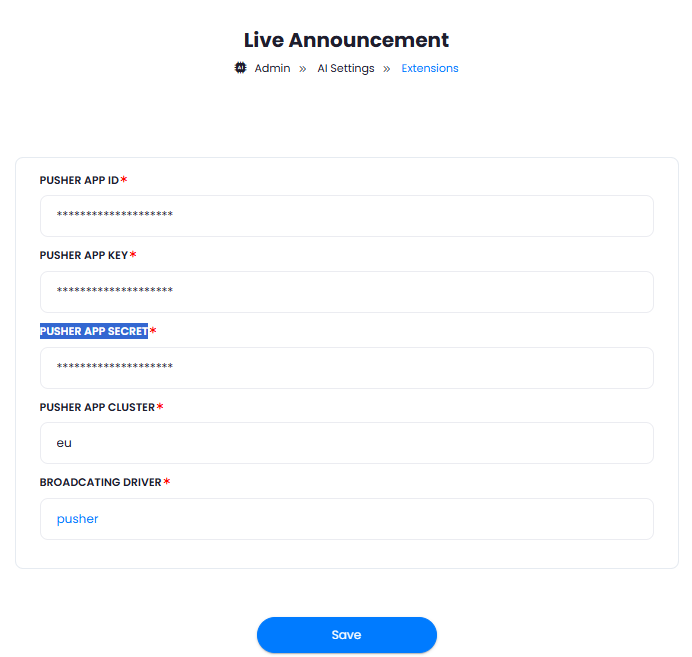
- PUSHER APP ID
- PUSHER APP KEY
- PUSHER APP SECRET
- PUSHER APP CLUSTER
4
Step 4
To get started with Pusher setup, follow the steps below.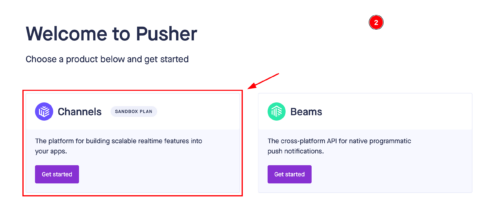
1
Sign Up for Pusher
- Go to Pusher’s website.
- Click on the Sign Up button at the top right corner of the page.
- Fill in your details such as name, email, and password, or sign up using a social media account (e.g., GitHub, Google).
- Check your email for a verification message from Pusher.
- Click the verification link to activate your account.
2
Choose the Right Product
- Upon logging in, you will see two categories: Channels and Beams
- Click on the Get Started button under the Channels category, as this guide focuses on setting up real-time notifications using Pusher Channels.
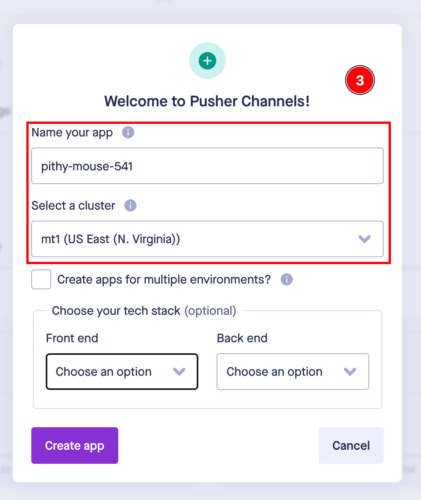
3
Create a New App
- Fill in the necessary details for your new app.
- Name: Choose a name for your app.
- Cluster: Select a cluster that is geographically close to your users.
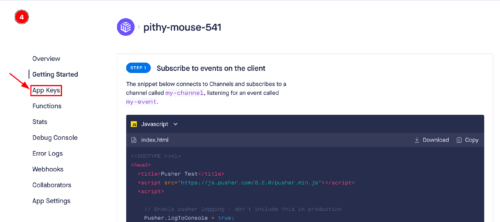
- After creating your app, you will be taken to the app’s dashboard where you can see your app credentials:
- App ID
- Key
- Secret
- Cluster
4
Placing Credentials in Your General Settings Page
Navigate to the Step 3 above and include your Pusher keys in the AI Settings page as instructed there.
5
Step 5
Configuration! You have successfully comleted the setup process of Live Announcement extension.
How to Use
After properly configuring your Live Announcement settings, you can start creating live banners for the main User Dashboard page, for that, go to Live announcements tab in the Admin Panel.- First you will see main tables of all your announcements, from there you can Edit, Broadcat or Delete a announcement.
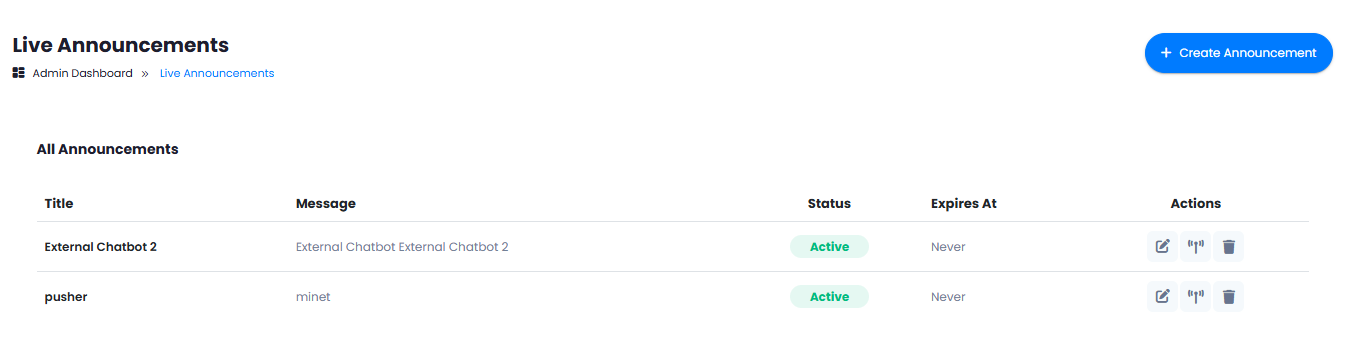
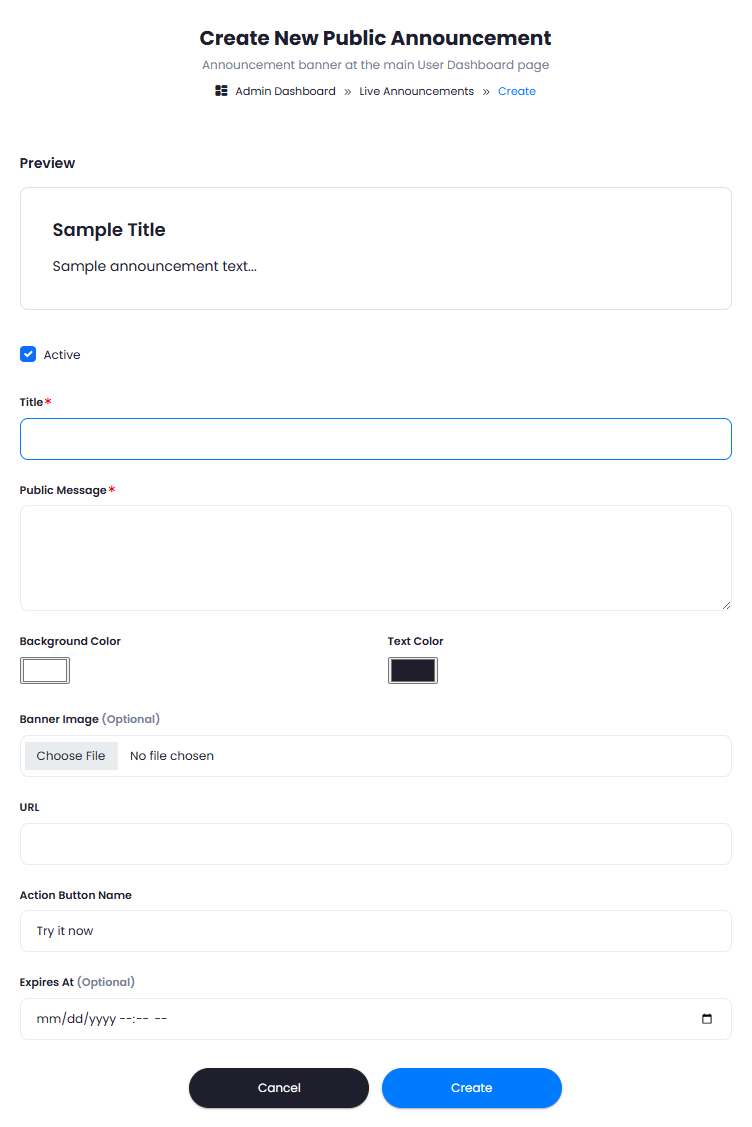
- To create a new live announcement, click on the Create Announcement button at the top right corner.
- Fill in all the fields as you prefer, the Preview section there will show you how your end result will look on the User Dashboard.
- And afterwards when it is created, you can click on the Broadcast button, and it will be dynamically pushed to all users and will be visible on their User Dashboard panels.