Extension Configuration
To be able to use AI Realtime Voice Chat feature, follow these steps to setup this extension.Step 1
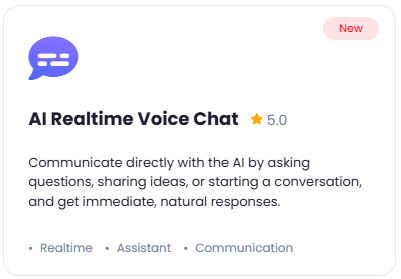
Go to the Marketplace in Admin Panel and install AI Realtime Voice Chat extension after you have successfully completed the purchase process.

Step 2
After installation is completed, go to AI Settings page in Admin Panel and click on Extensions tab there. Click on AI Realtime Voice Chat there.

Step 3
AI Realtime Voice Chat by default uses your main OpenAI API Key, so you don’t need to enter any seprate API key.
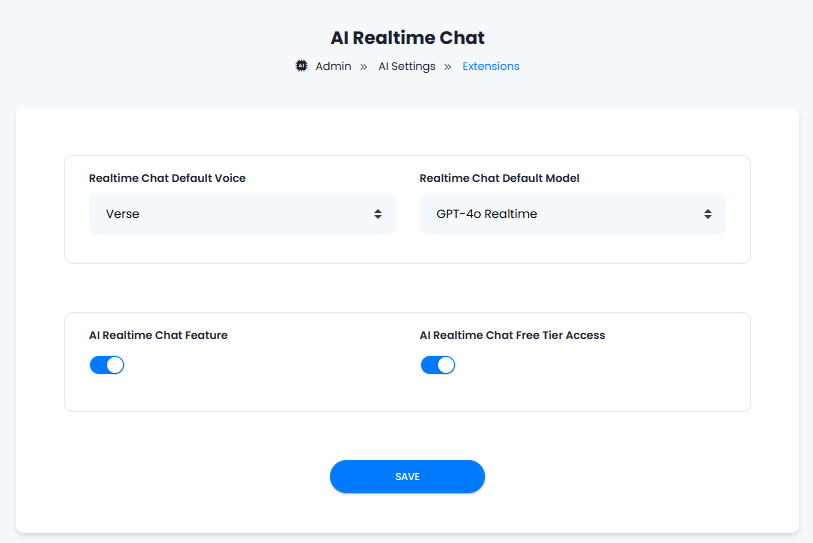
- The Realtime Chat Default Voice field let’s you set default voice for all Realtime Chat responses, you can select 1 out of 8 available voices
- The Realtime Chat Default Model field allows you to decide which OpenAI realtime model version you want your users to use by default.
- Turn on the checkboxes for AI Realtime Chat Feature and AI Realtime Chat Free Tier Access
If you don’t turn on AI Realtime Chat Free Tier Access, then users who did not subscribe to any subscription plan where you have AI Realtime Chat feature enabled, will not have any access to this feature
- After you are done with configuration, click the Save button.

You have successfully comleted the setup process of this extension.
How to Use
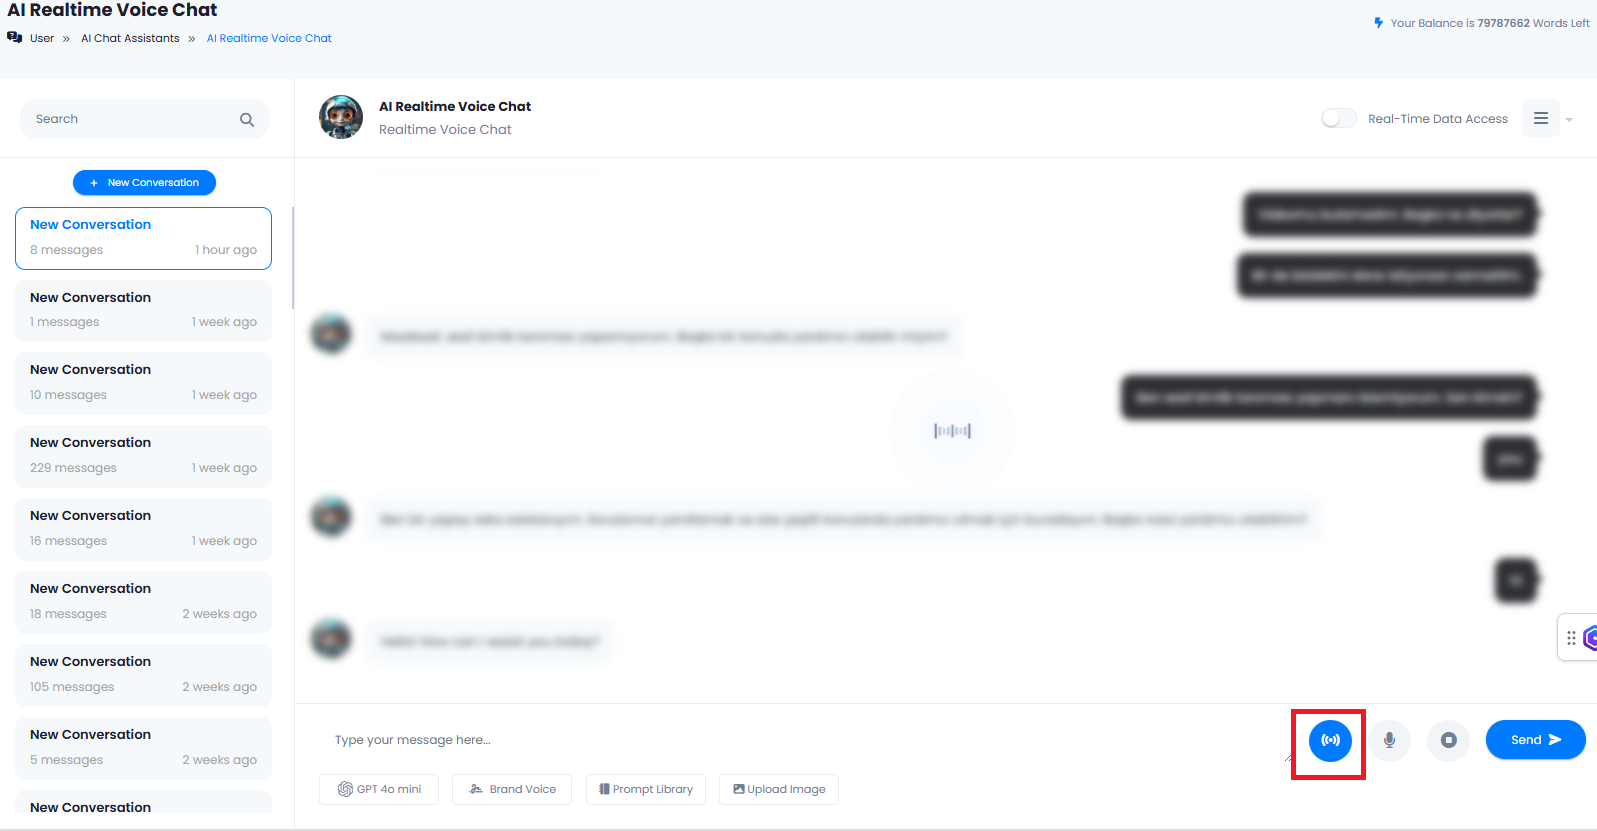
After you are done with the configuration of AI Realtime Voice Chat feature, it will appear on the User panel there you can start using this extension.- Go to AI Realtime Voice Chat tab in the User panel
- Click on the start realtime chat button, make sure to turn on your mic when browser will request it, now you can ask your question and have a live conversation with AI.
