> ## Documentation Index
> Fetch the complete documentation index at: https://davinci.mintlify.site/llms.txt
> Use this file to discover all available pages before exploring further.
# Xero
> Integrate Davinci AI with Xero to automate all invoicing processes both for prepaid and subscription plans
This is a free extension available for anyone
## Introduction
Effortlessly link Davinci AI to Xero, a top-tier cloud accounting platform, to automate and streamline your financial tasks such as invoices. This integration allows you to simplify Davinci AI invoicing right from within Xero.
## Extension Configuration
To be able to use Xero feature, follow these steps to setup Xero Extension.
Go to the **Marketplace** in **Admin Panel** and install **Xero** extension.
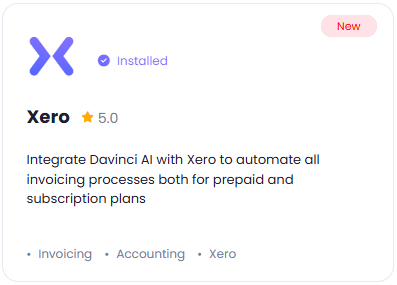 After installation is completed, go to **AI Settings** page in Admin Panel and click on **Extensions** tab there. Click on **Xero** there.
 Register with Xero:
1. Go to Xero Developer Portal website and sign up with them in case if don't have an account with them.
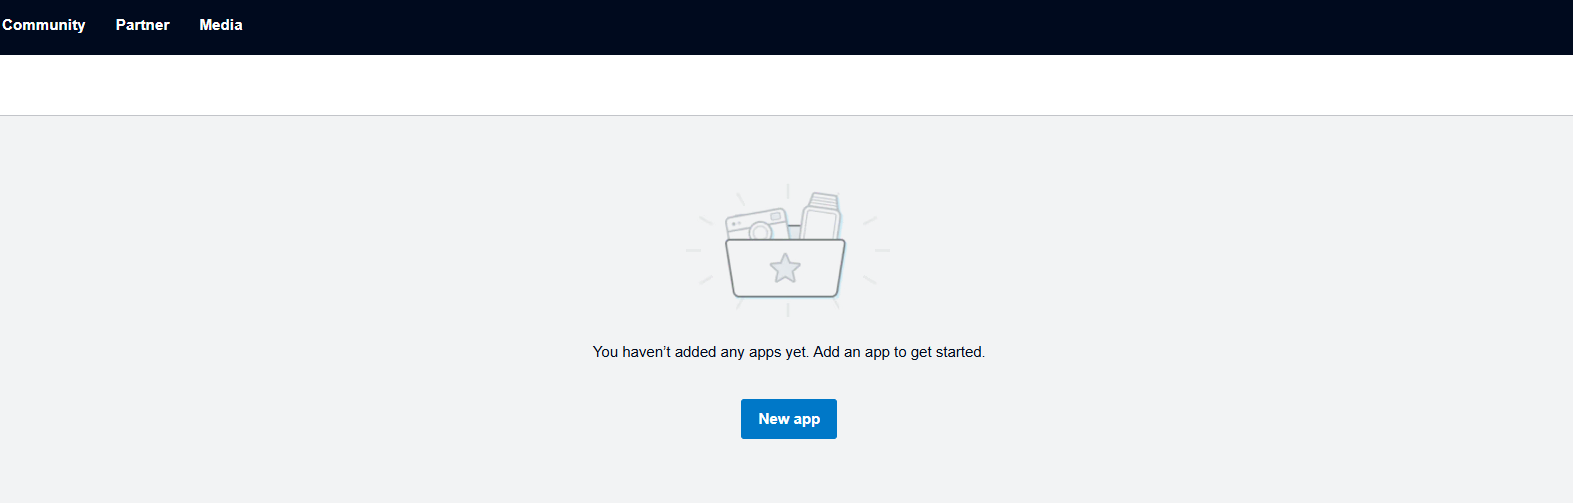
2. After your logged into your Xero Developer Portal, click on the **New App** button at center of the screen
Register with Xero:
1. Go to Xero Developer Portal website and sign up with them in case if don't have an account with them.
2. After your logged into your Xero Developer Portal, click on the **New App** button at center of the screen
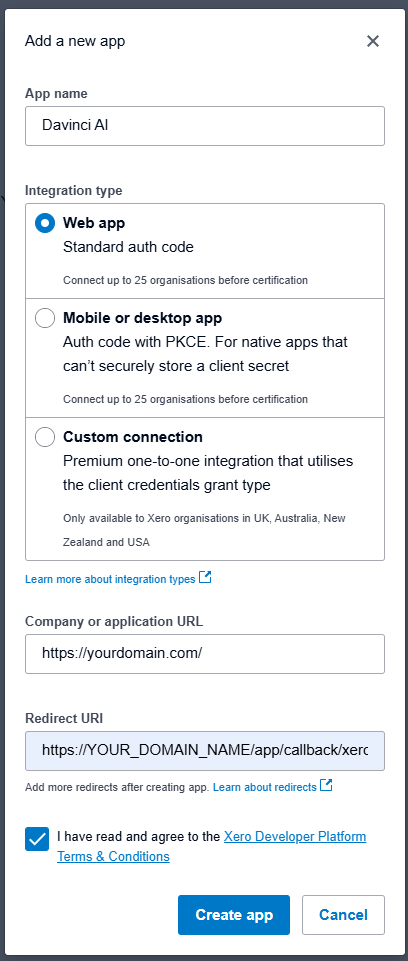
 3. Next, enter your **App Name** and select **Web App** for the Integration type, and provide your **Company URL**. For **Redirect URL** enter following **https\://YOUR\_DOMAIN\_NAME/app/callback/xero** and click on **Create App** button once done.
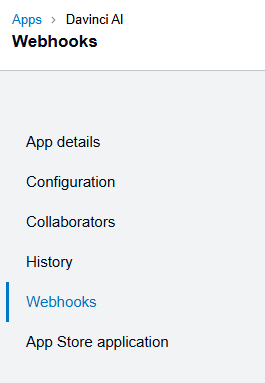
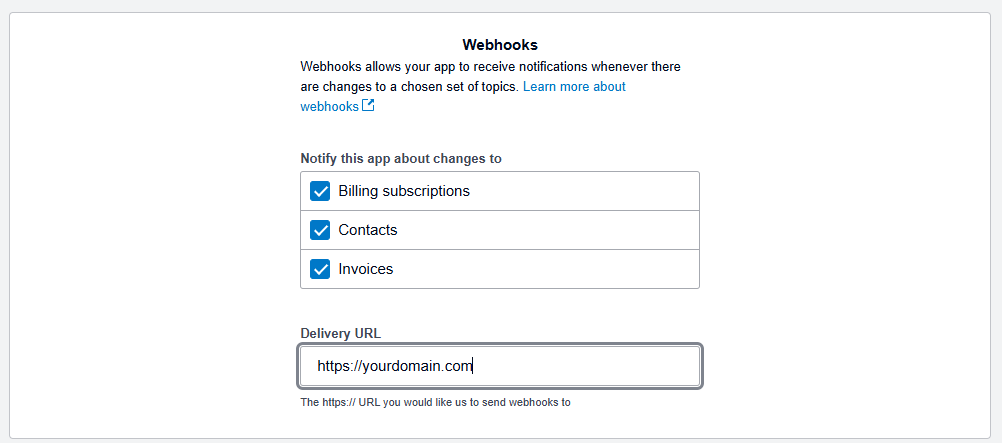
 4. Next, select the **Webhooks** from the menu panel on the left.
 5. Fill in the webhooks settings as shown below and click on the **Save** button at the top right corner.
 6. Next, select the **Configurations** from the menu panel on the left.
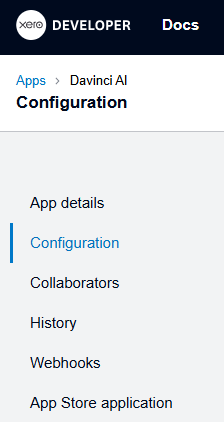 7. Check that your **Redirect URL** is set as stated on **Step 3** earlier, and click on the **Generate a secret** button. Copy both the **Client ID** and **Client Secret**.
 Store your keys securely and never share it publicly. The key can provide direct access to your account.
To control the settings of **Xero** exension, return to **AI Settings** page in Admin Panel and click on the **Extensions** tab, and select **Xero** extension.
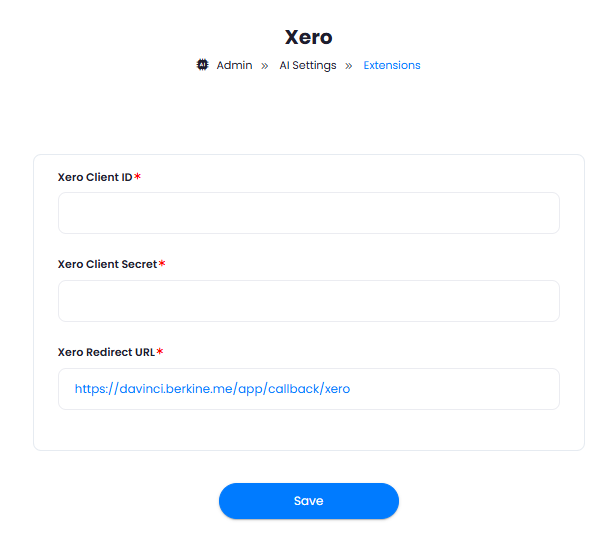
Configuration of Xero is done on this page, there will be no new menu item added in the Admin Panel. Below is the explanation of each field on Xero page.
* Enter your **Xero Client ID**
* Enter your **Xero Client Secret**
* Afterwards click on **Save** button, it will automatically synchronize your users and all newly generated invoices upon checkout, will be stored on your Xero account as well.
Store your keys securely and never share it publicly. The key can provide direct access to your account.
To control the settings of **Xero** exension, return to **AI Settings** page in Admin Panel and click on the **Extensions** tab, and select **Xero** extension.
Configuration of Xero is done on this page, there will be no new menu item added in the Admin Panel. Below is the explanation of each field on Xero page.
* Enter your **Xero Client ID**
* Enter your **Xero Client Secret**
* Afterwards click on **Save** button, it will automatically synchronize your users and all newly generated invoices upon checkout, will be stored on your Xero account as well.
 Configuration! You have successfully comleted the setup process of the Xero extension.