> ## Documentation Index
> Fetch the complete documentation index at: https://davinci.mintlify.site/llms.txt
> Use this file to discover all available pages before exploring further.
# HubSpot CRM
> Synchronize user accounts with your HubSpot CRM account with our Hubspot extension
This is a free extension available for anyone
## Extension Configuration
To be able to use Hubspot feature, follow these steps to setup Hubspot Extension.
Go to the **Marketplace** in **Admin Panel** and install **Hubspot** extension.
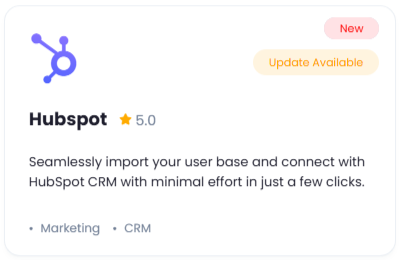 After installation is completed, go to **AI Settings** page in Admin Panel and click on **Extensions** tab there. Click on **Hubspot** there.
 Register with HubSpot:
1. Go to HubSpot website and sign up with them in case if don't have an account with them.
2. After your logged into your HubSpot account, click on the **Settings** button at the top right corner
Register with HubSpot:
1. Go to HubSpot website and sign up with them in case if don't have an account with them.
2. After your logged into your HubSpot account, click on the **Settings** button at the top right corner
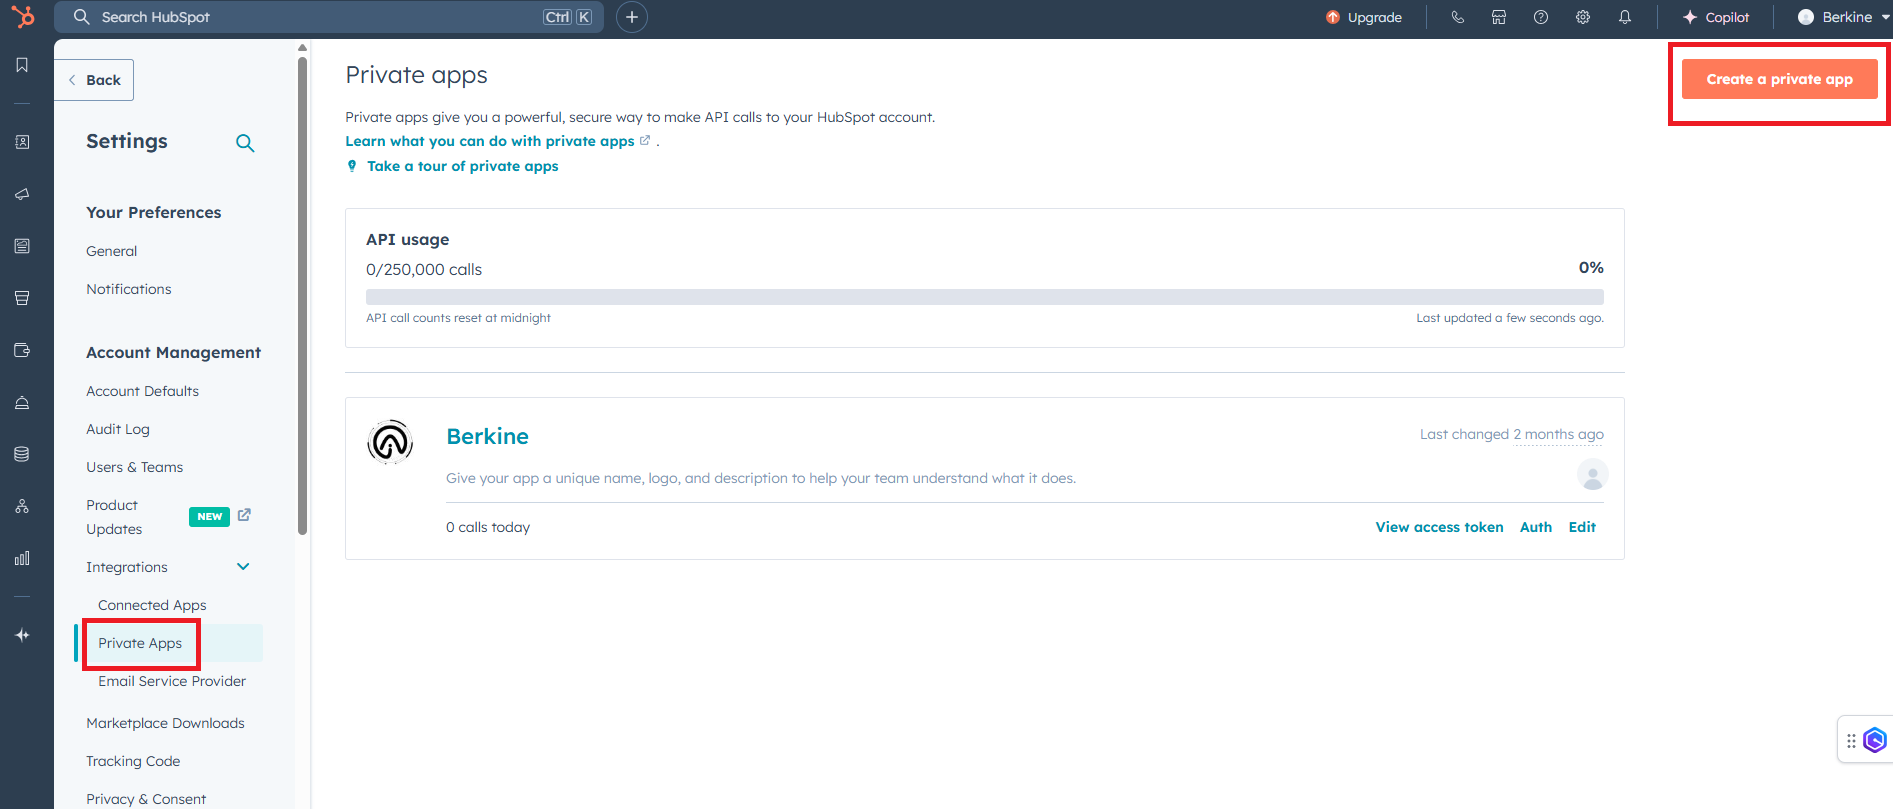
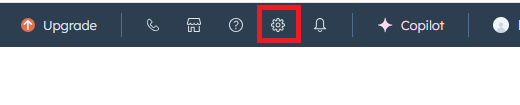 3. On the left menu panel, go to **Integrations** - **Private Apps** page and click on **Create a private app** button.
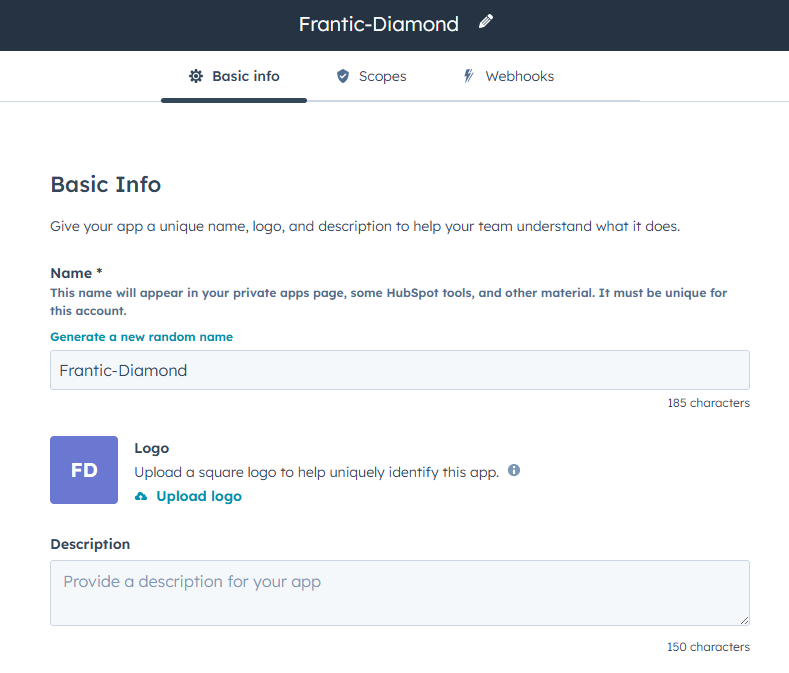
 4. Enter app name along with some description
 5. On the scopes section, include all scopes for **CRM** and **CSM** scopes.
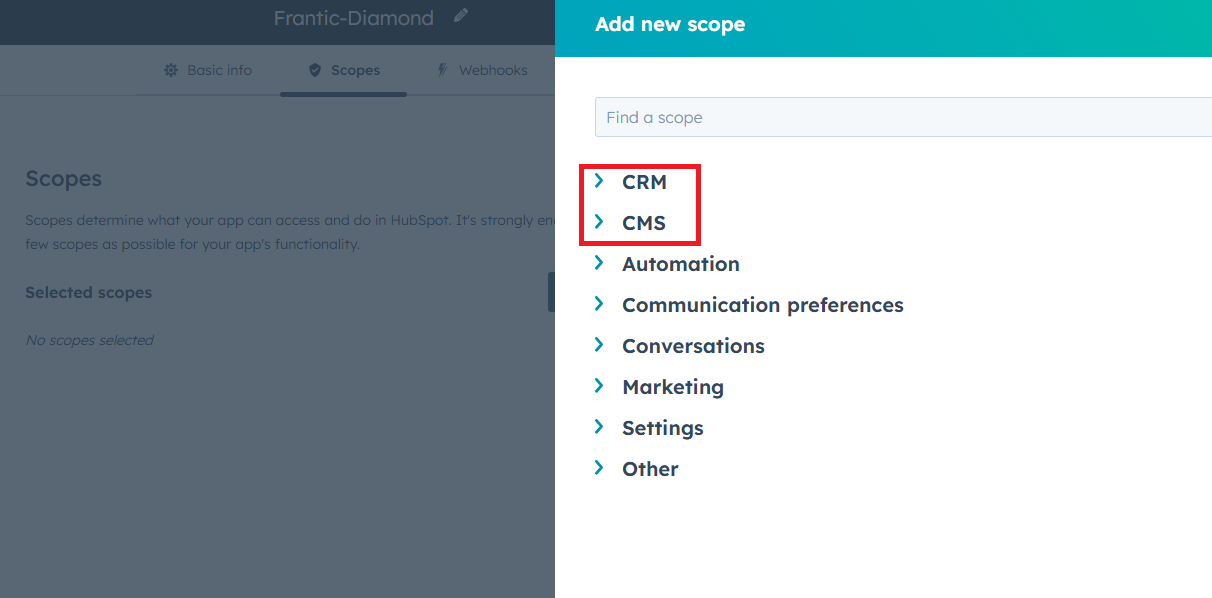 6. Last section on webhooks there is optional, then click on **Create App** button.
7. After you have created your app, you will be shown **Access Token**, copy it.
6. Last section on webhooks there is optional, then click on **Create App** button.
7. After you have created your app, you will be shown **Access Token**, copy it.
 Store your Access Token securely and never share it publicly. The key can provide direct access to your account.
To control the settings of **HubSpot** exension, return to **AI Settings** page in Admin Panel and click on the **Extensions** tab, and select **HubSpot** extension.
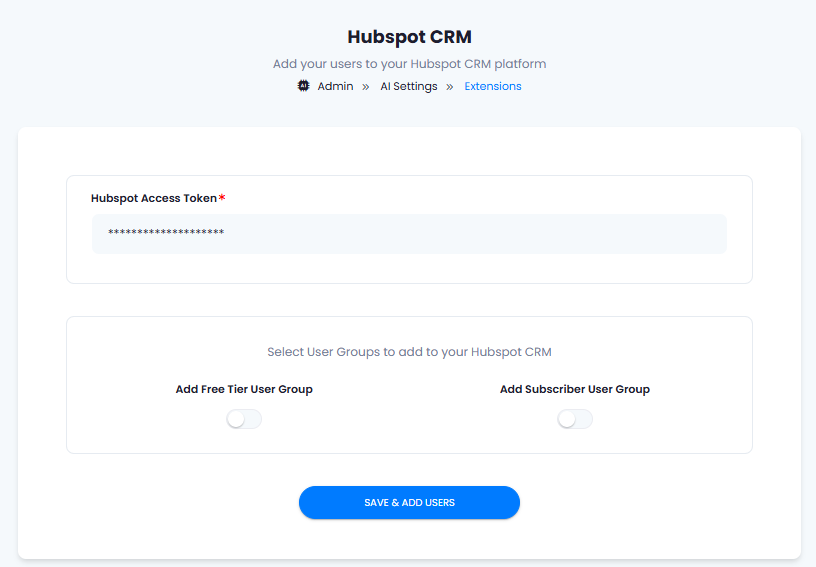
Configuration of Hubspot is done on this page, there will be no new menu item added in the Admin Panel. Below is the explanation of each field on Hubspot page.
* Enter your **Hubspot Access Token**
* Turn on **Add Free Tier User Group** if you want to Synchronize non-subscribers accounts only with your HubSpot account
* Turn on **Add Subscriber User Group** if you want to Synchronize subscribers accounts only with your HubSpot account
* Afterwards click on **Save & Add Users** button
Note that after you properly configure your HubSpot account with valid Access Token, all new users that are yet to register will get automatically added to your HubSpot account.
Store your Access Token securely and never share it publicly. The key can provide direct access to your account.
To control the settings of **HubSpot** exension, return to **AI Settings** page in Admin Panel and click on the **Extensions** tab, and select **HubSpot** extension.
Configuration of Hubspot is done on this page, there will be no new menu item added in the Admin Panel. Below is the explanation of each field on Hubspot page.
* Enter your **Hubspot Access Token**
* Turn on **Add Free Tier User Group** if you want to Synchronize non-subscribers accounts only with your HubSpot account
* Turn on **Add Subscriber User Group** if you want to Synchronize subscribers accounts only with your HubSpot account
* Afterwards click on **Save & Add Users** button
Note that after you properly configure your HubSpot account with valid Access Token, all new users that are yet to register will get automatically added to your HubSpot account.
 You know have completed the Hubspot extension configuration.
You have successfully comleted the setup process of this extension.
You know have completed the Hubspot extension configuration.
You have successfully comleted the setup process of this extension.